Create a subscription model
A subscription model groups the settings shared by several subscriptions: recurrence, sending method, payment method, receipt and, if needed, contract and amendments. The form takes one step with Simple membership, three with a contract.
Before you start
- If you want to offer payment by Prélèvement SEPA (SEPA direct debit), the organization's online payment account must be connected and operational (see Connect the organization's Stripe account). Otherwise a warning is displayed in the form.
- If you want contributors to sign a contract, prepare the contract text: you write it in the form, with data that fills in by itself.
- Nothing is saved until you click the create button at the last step. You can go back with Précédent (Previous) without losing anything.
Steps
1. Open the creation form
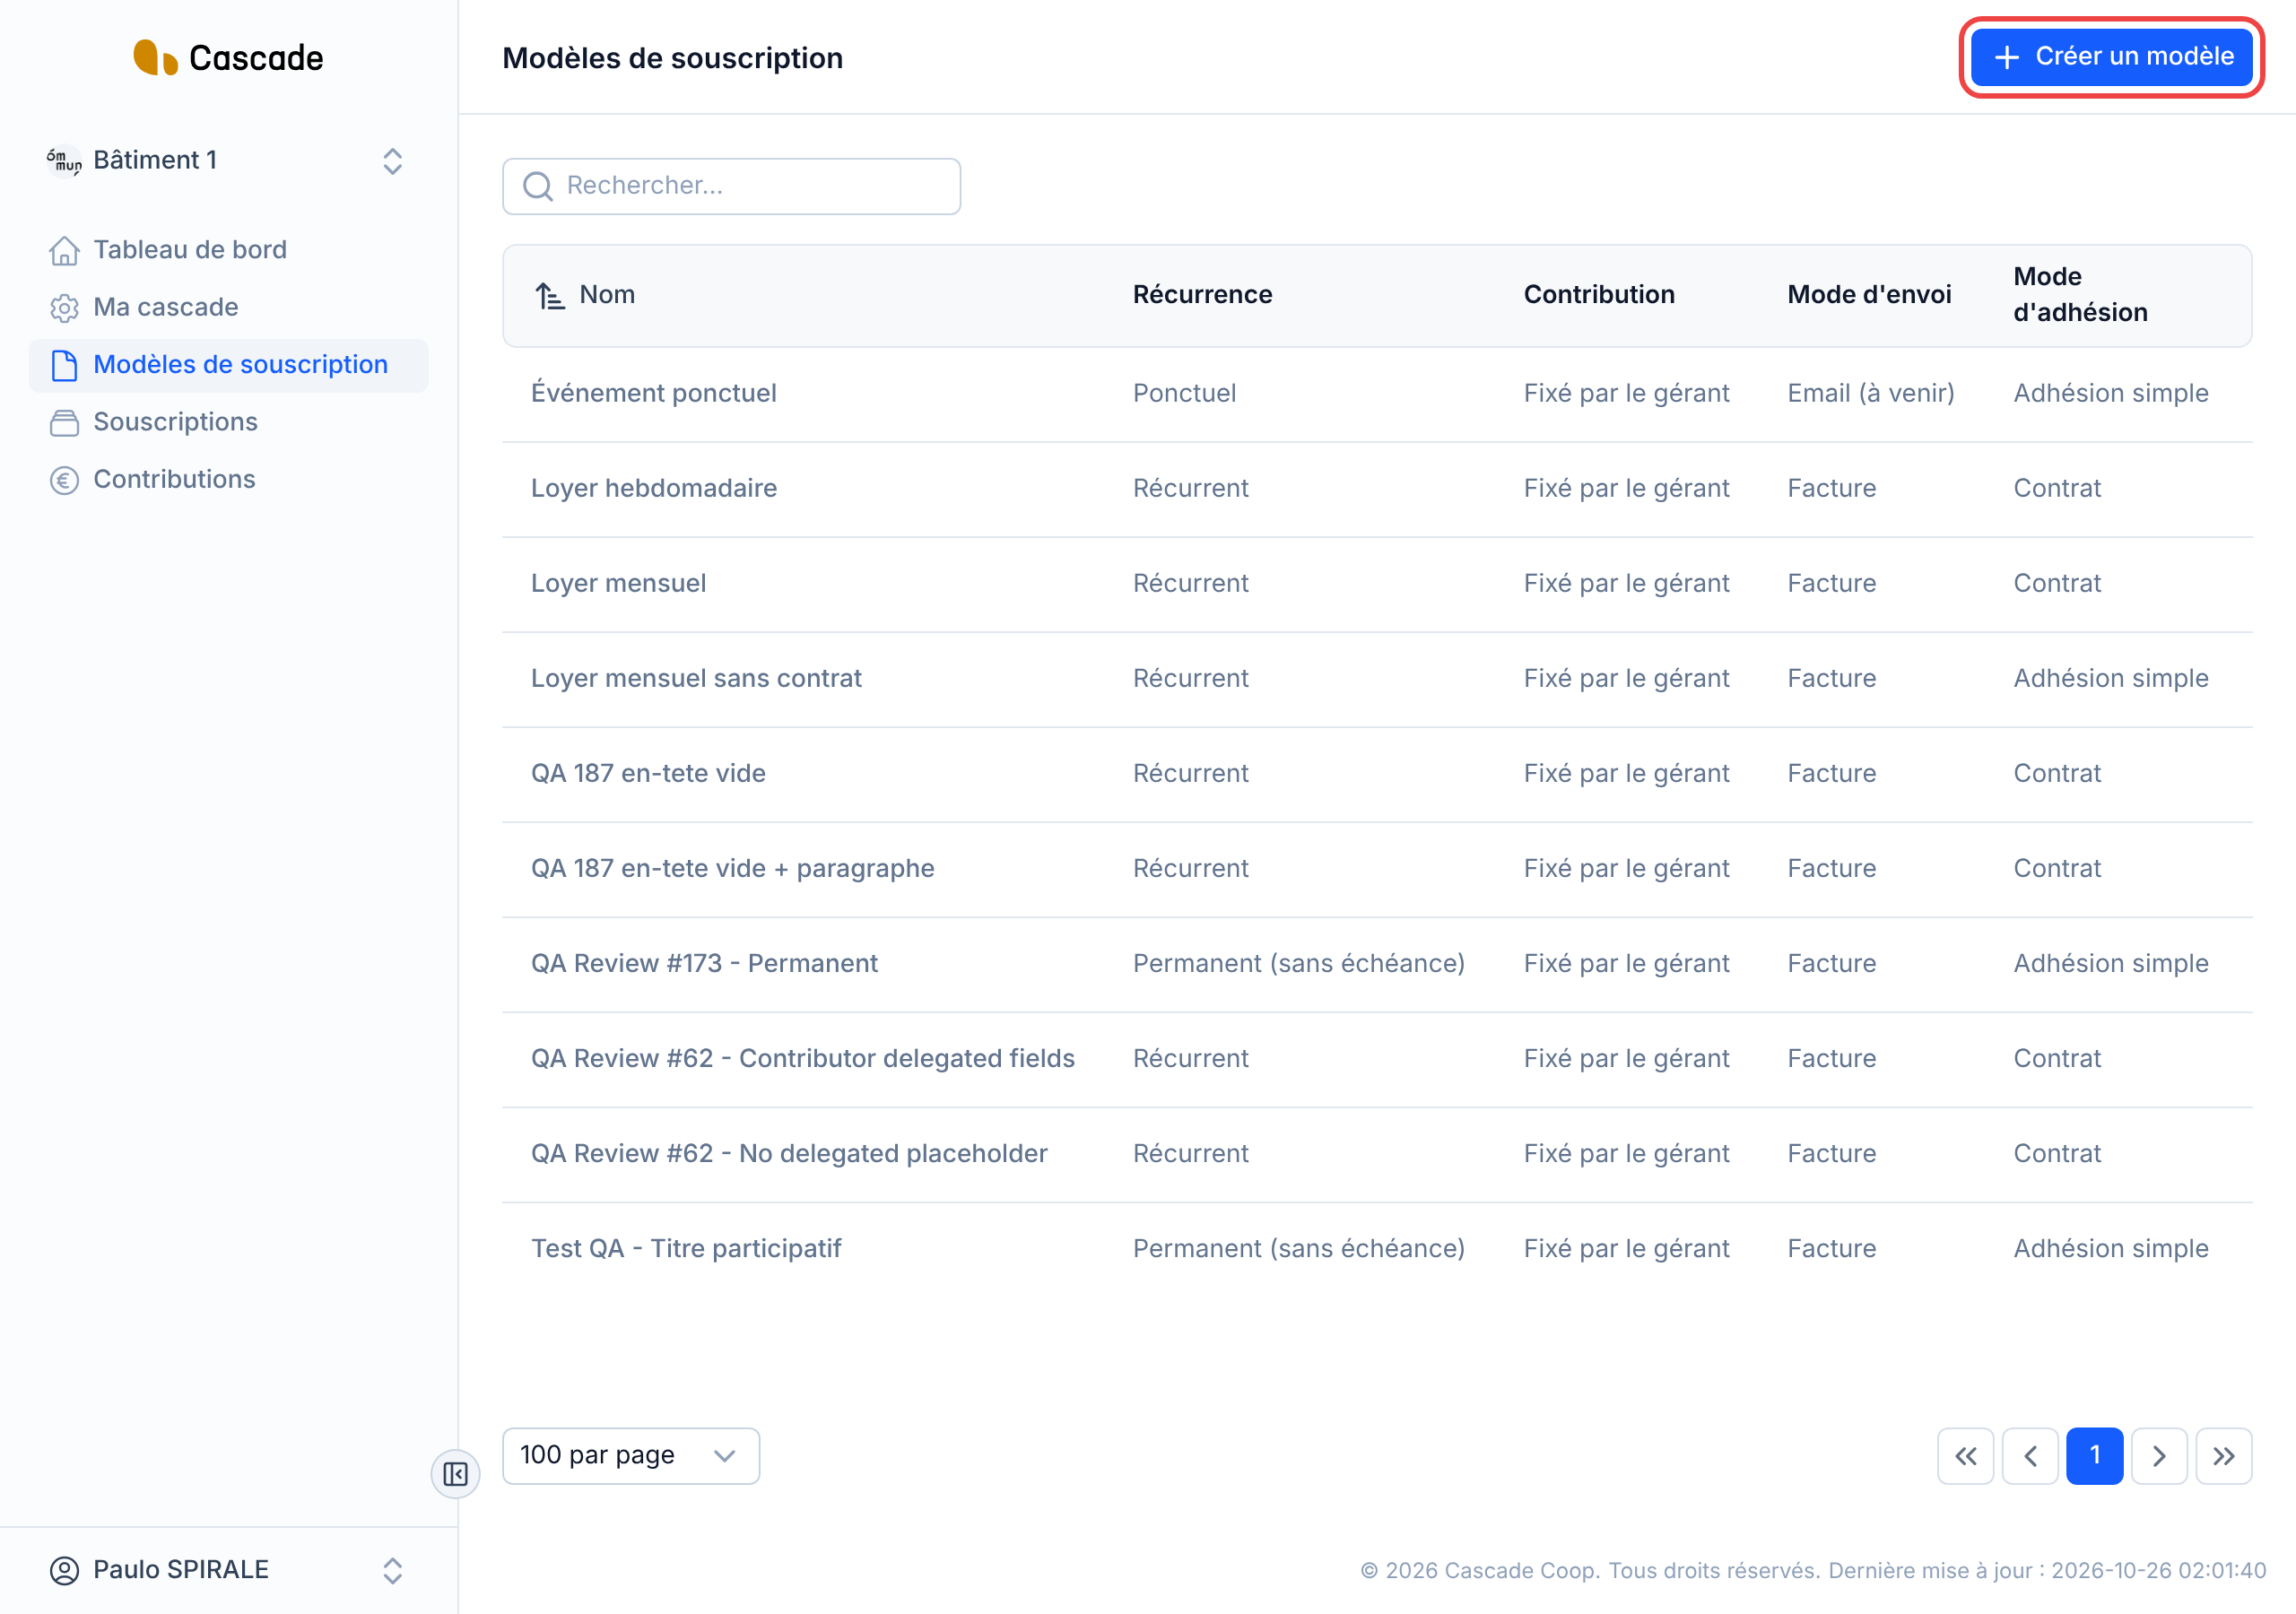
In the menu, go to Modèles de souscription (Subscription models), then click Créer un modèle (Create a model). The form opens on the Configuration générale (General configuration) step.
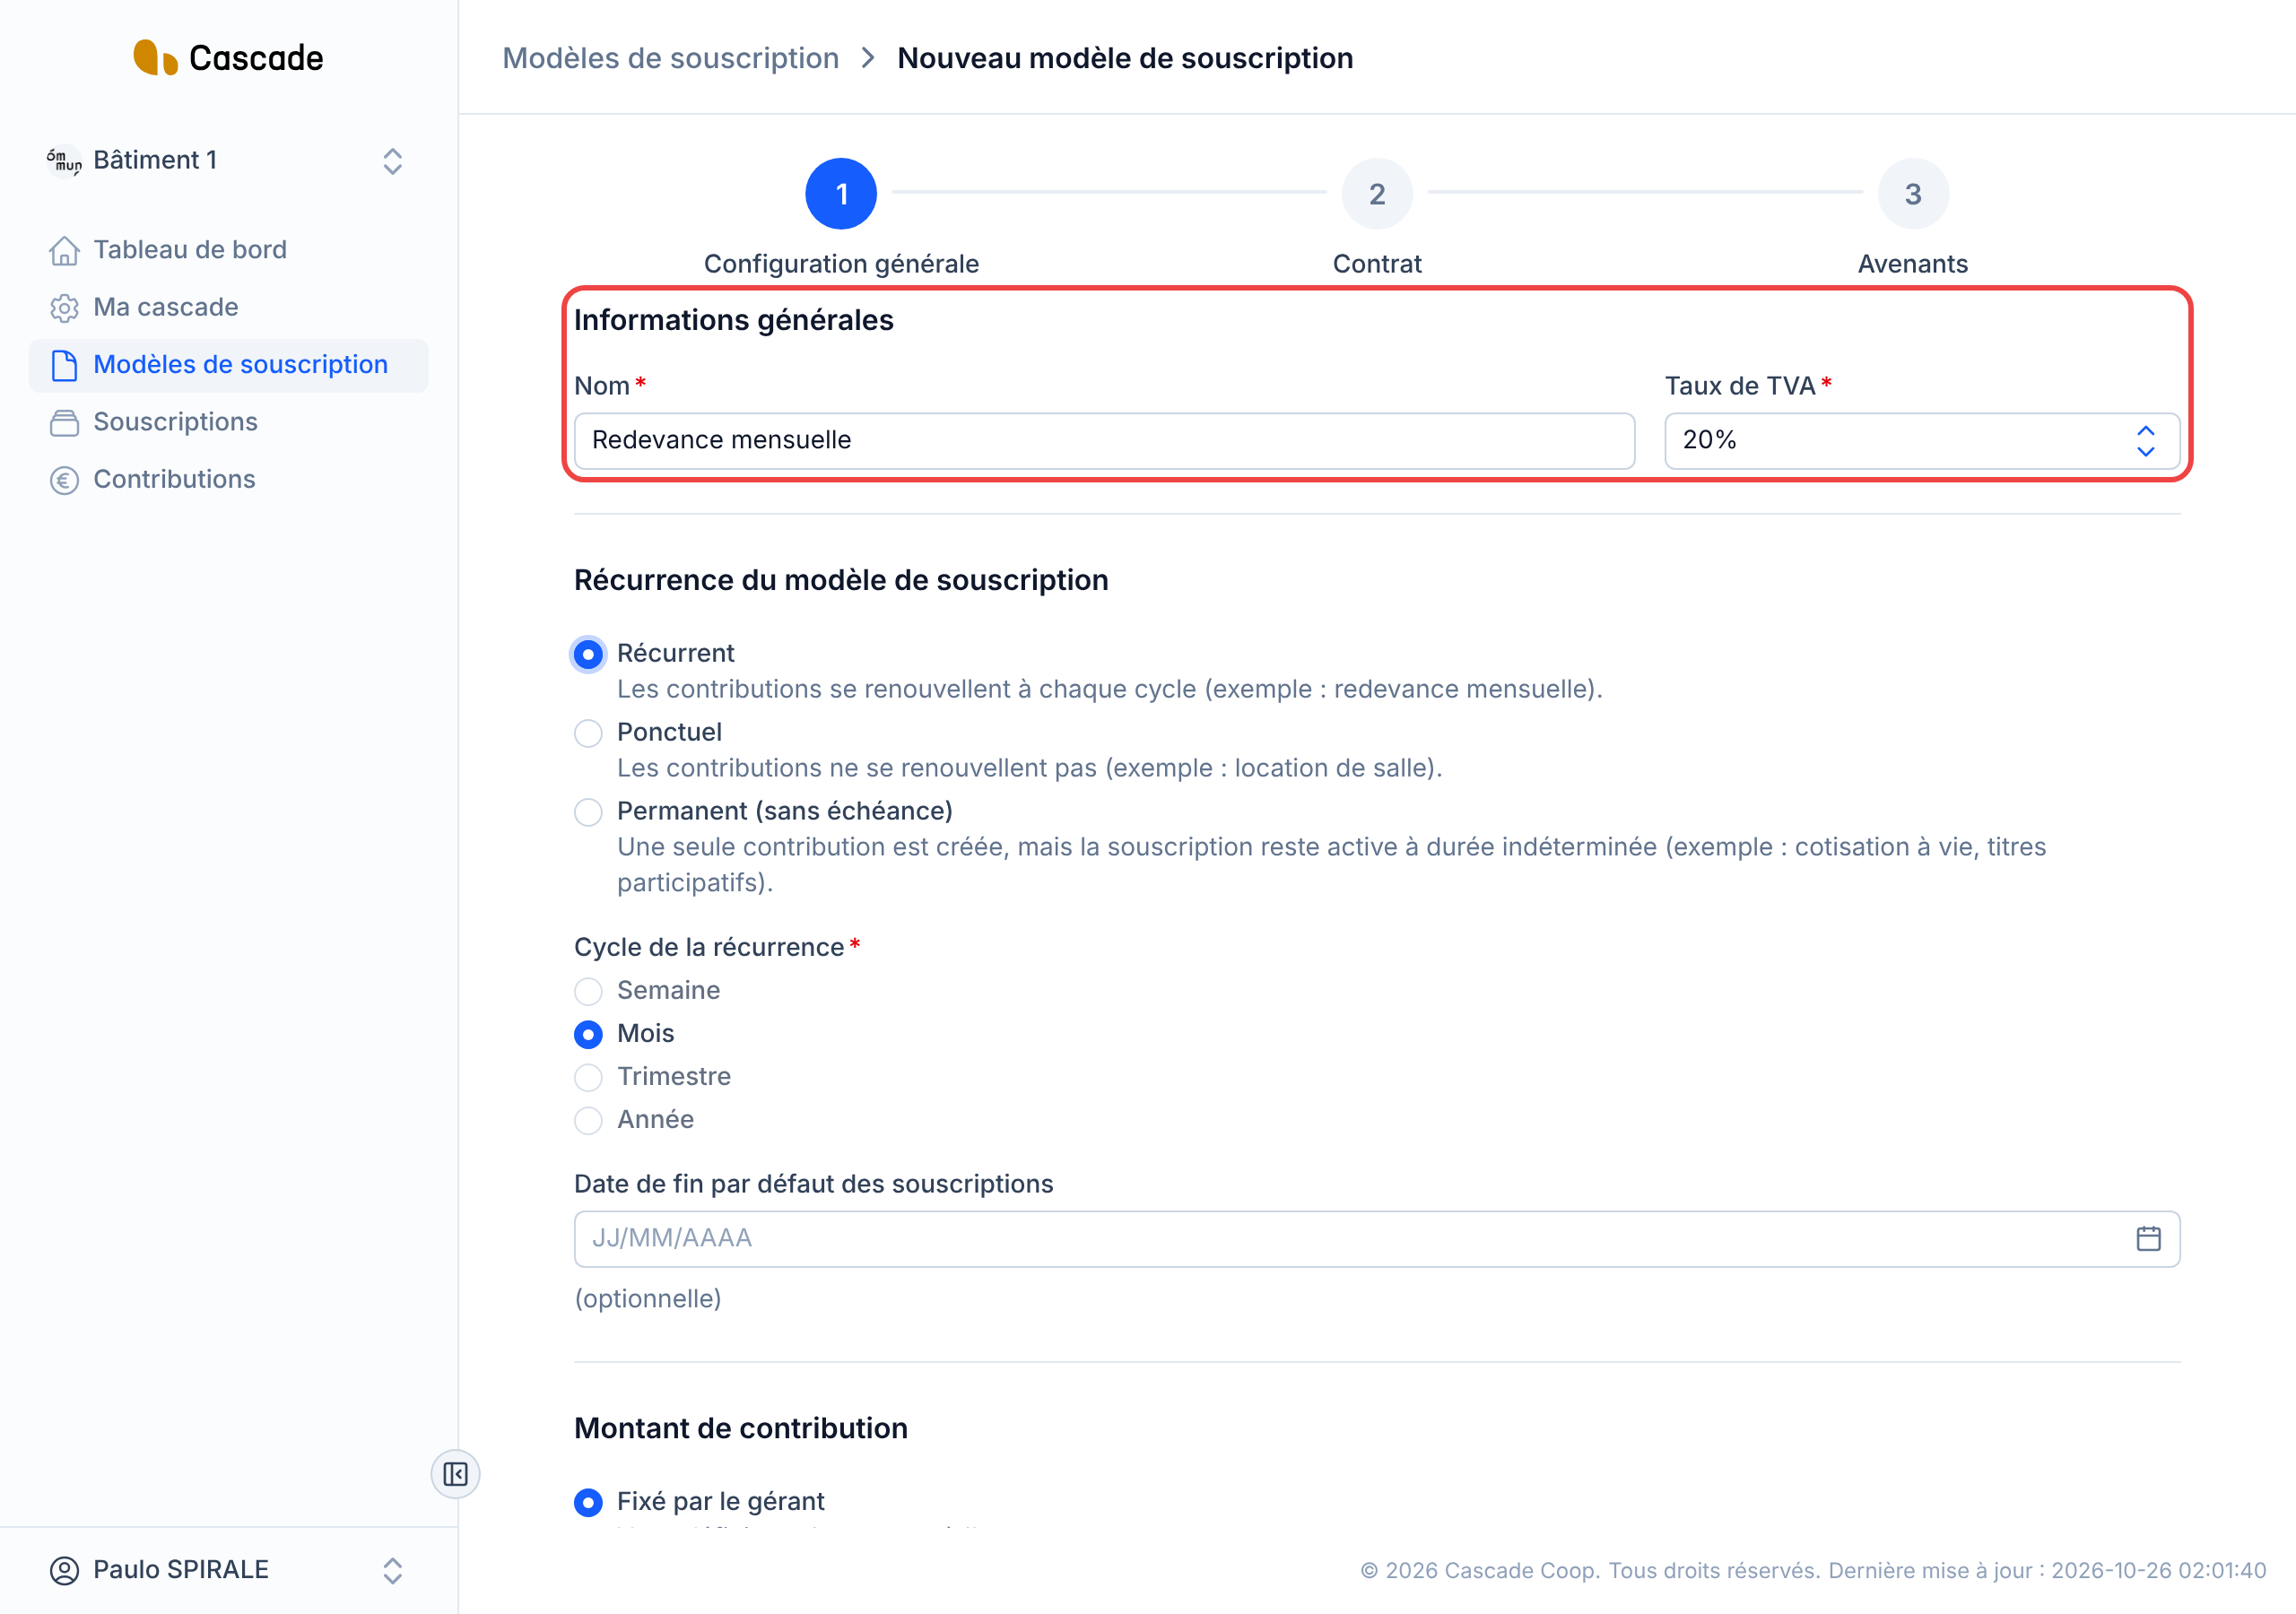
2. Fill in the general information
Give the model a Nom (Name), the one you will find in the lists and when creating a subscription. Choose the applicable Taux de TVA (VAT rate) (for example 20%).
3. Choose the recurrence
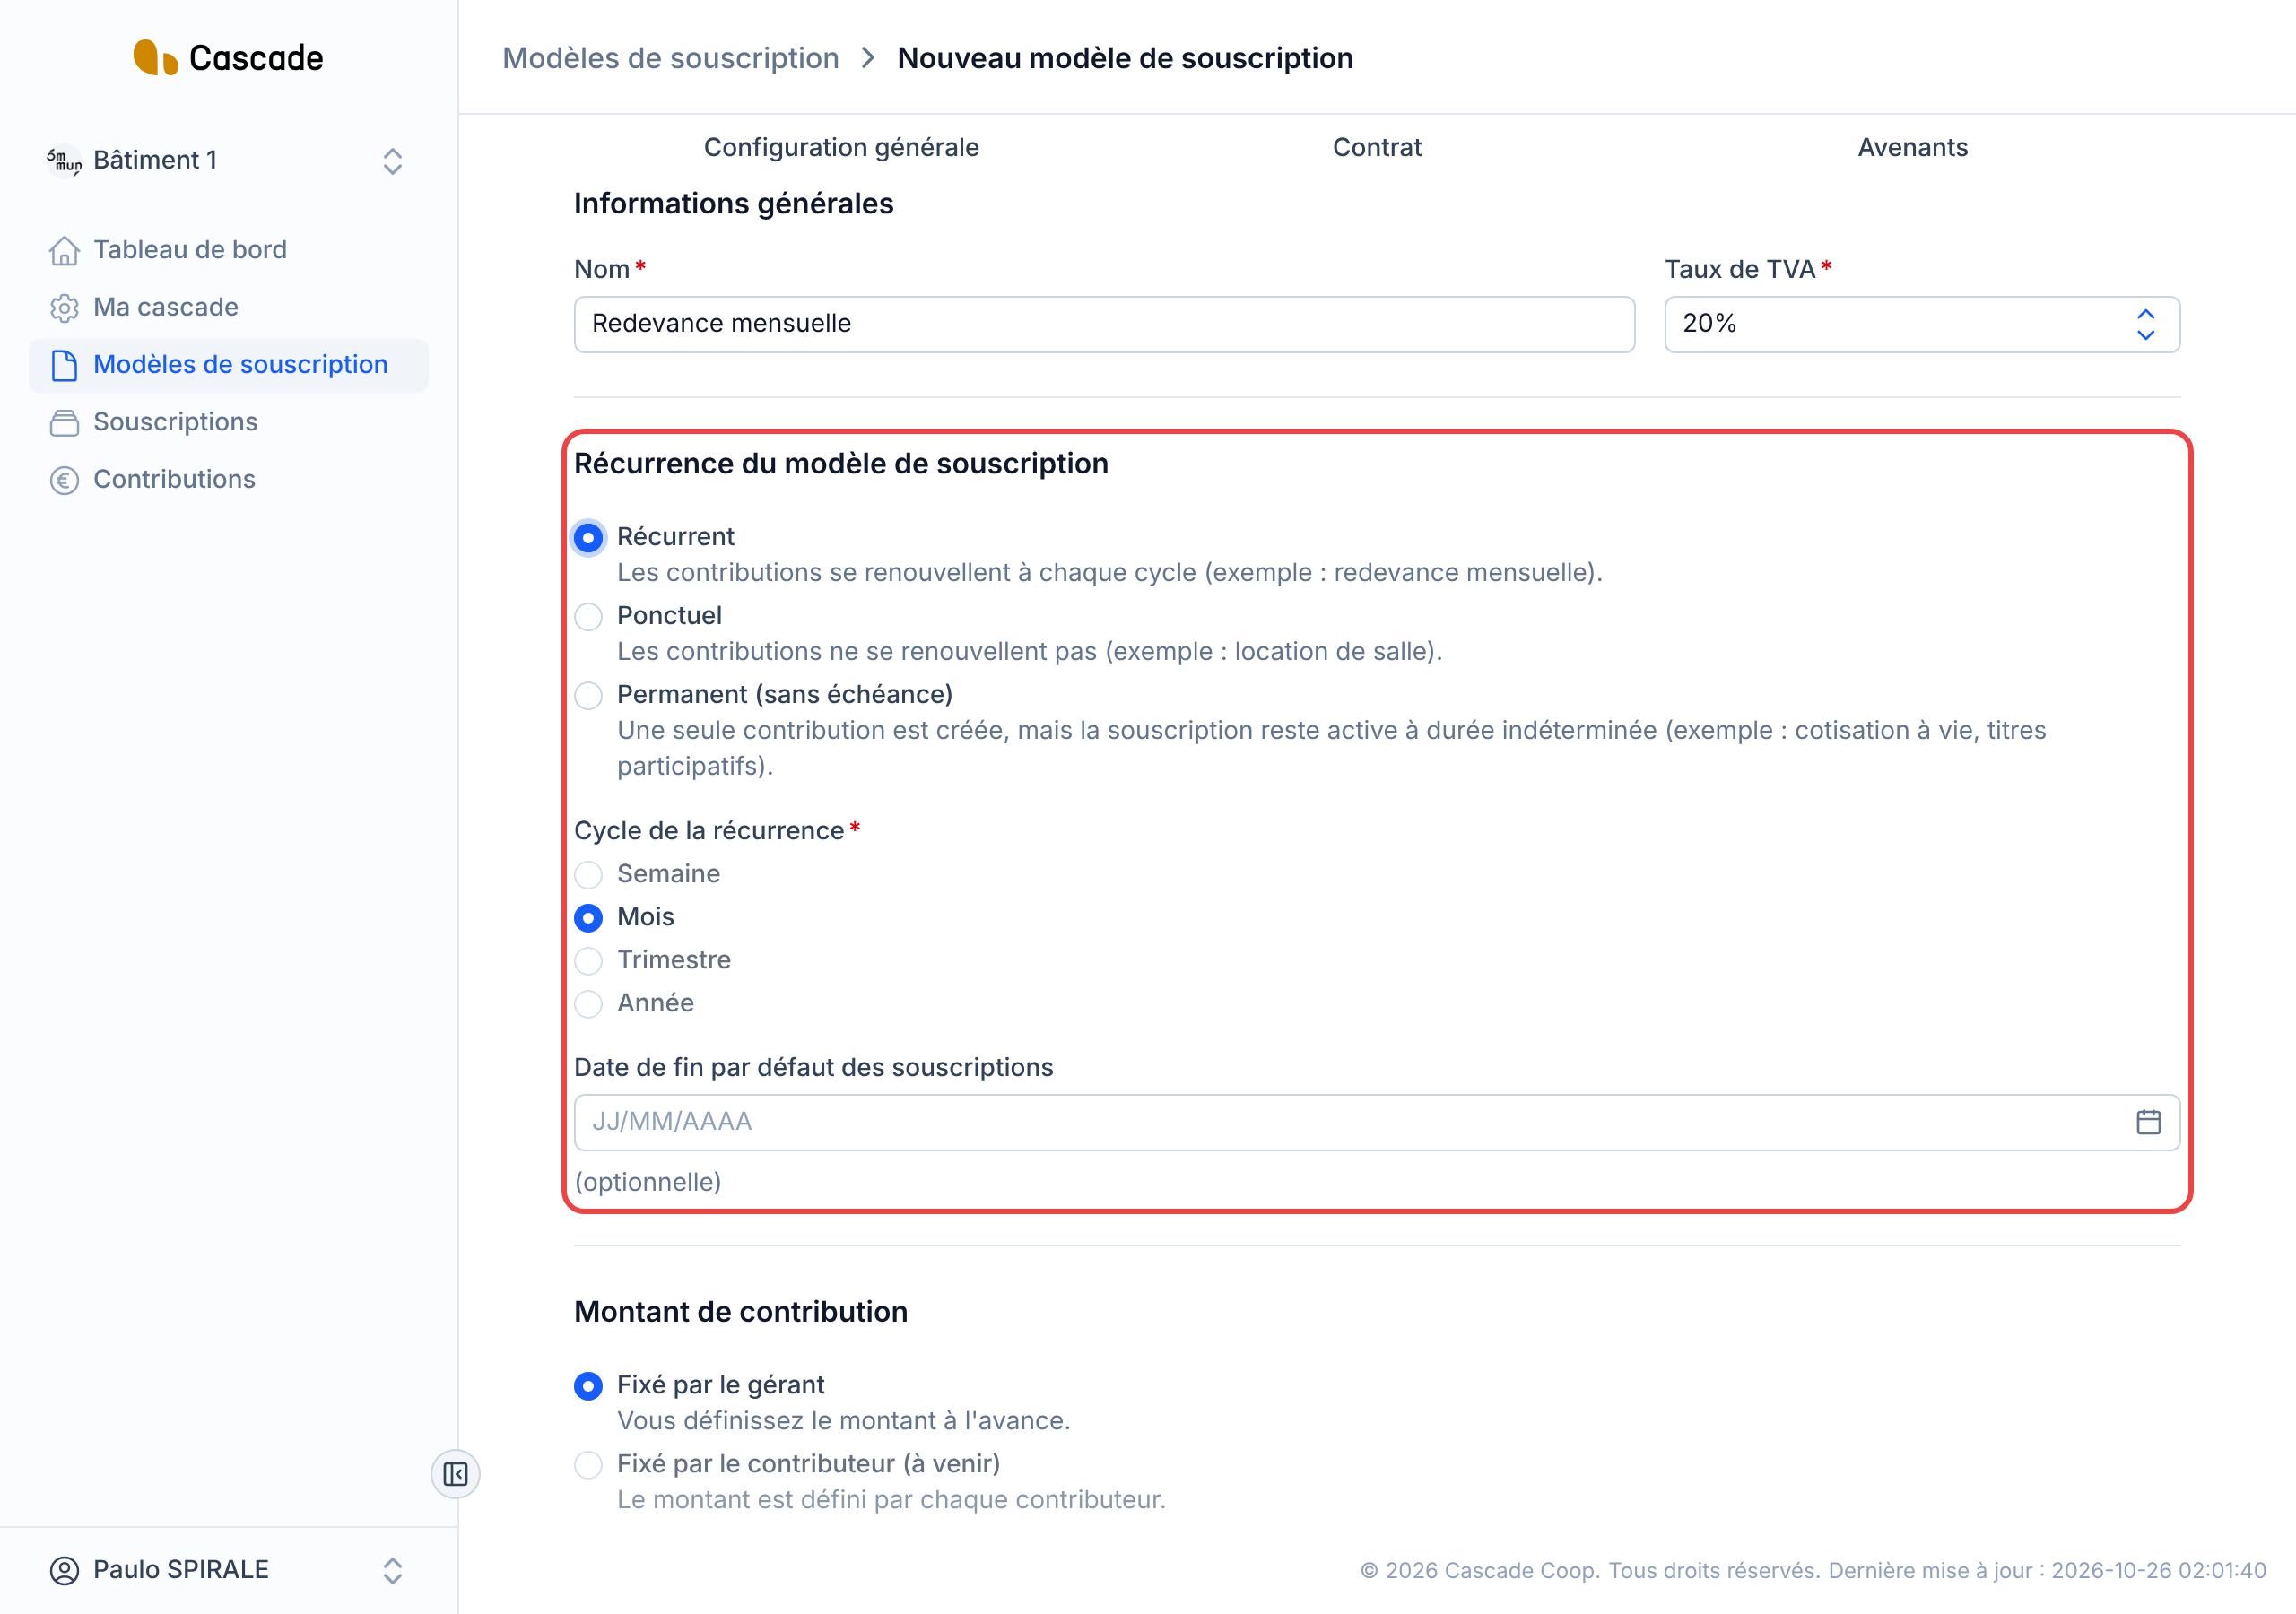
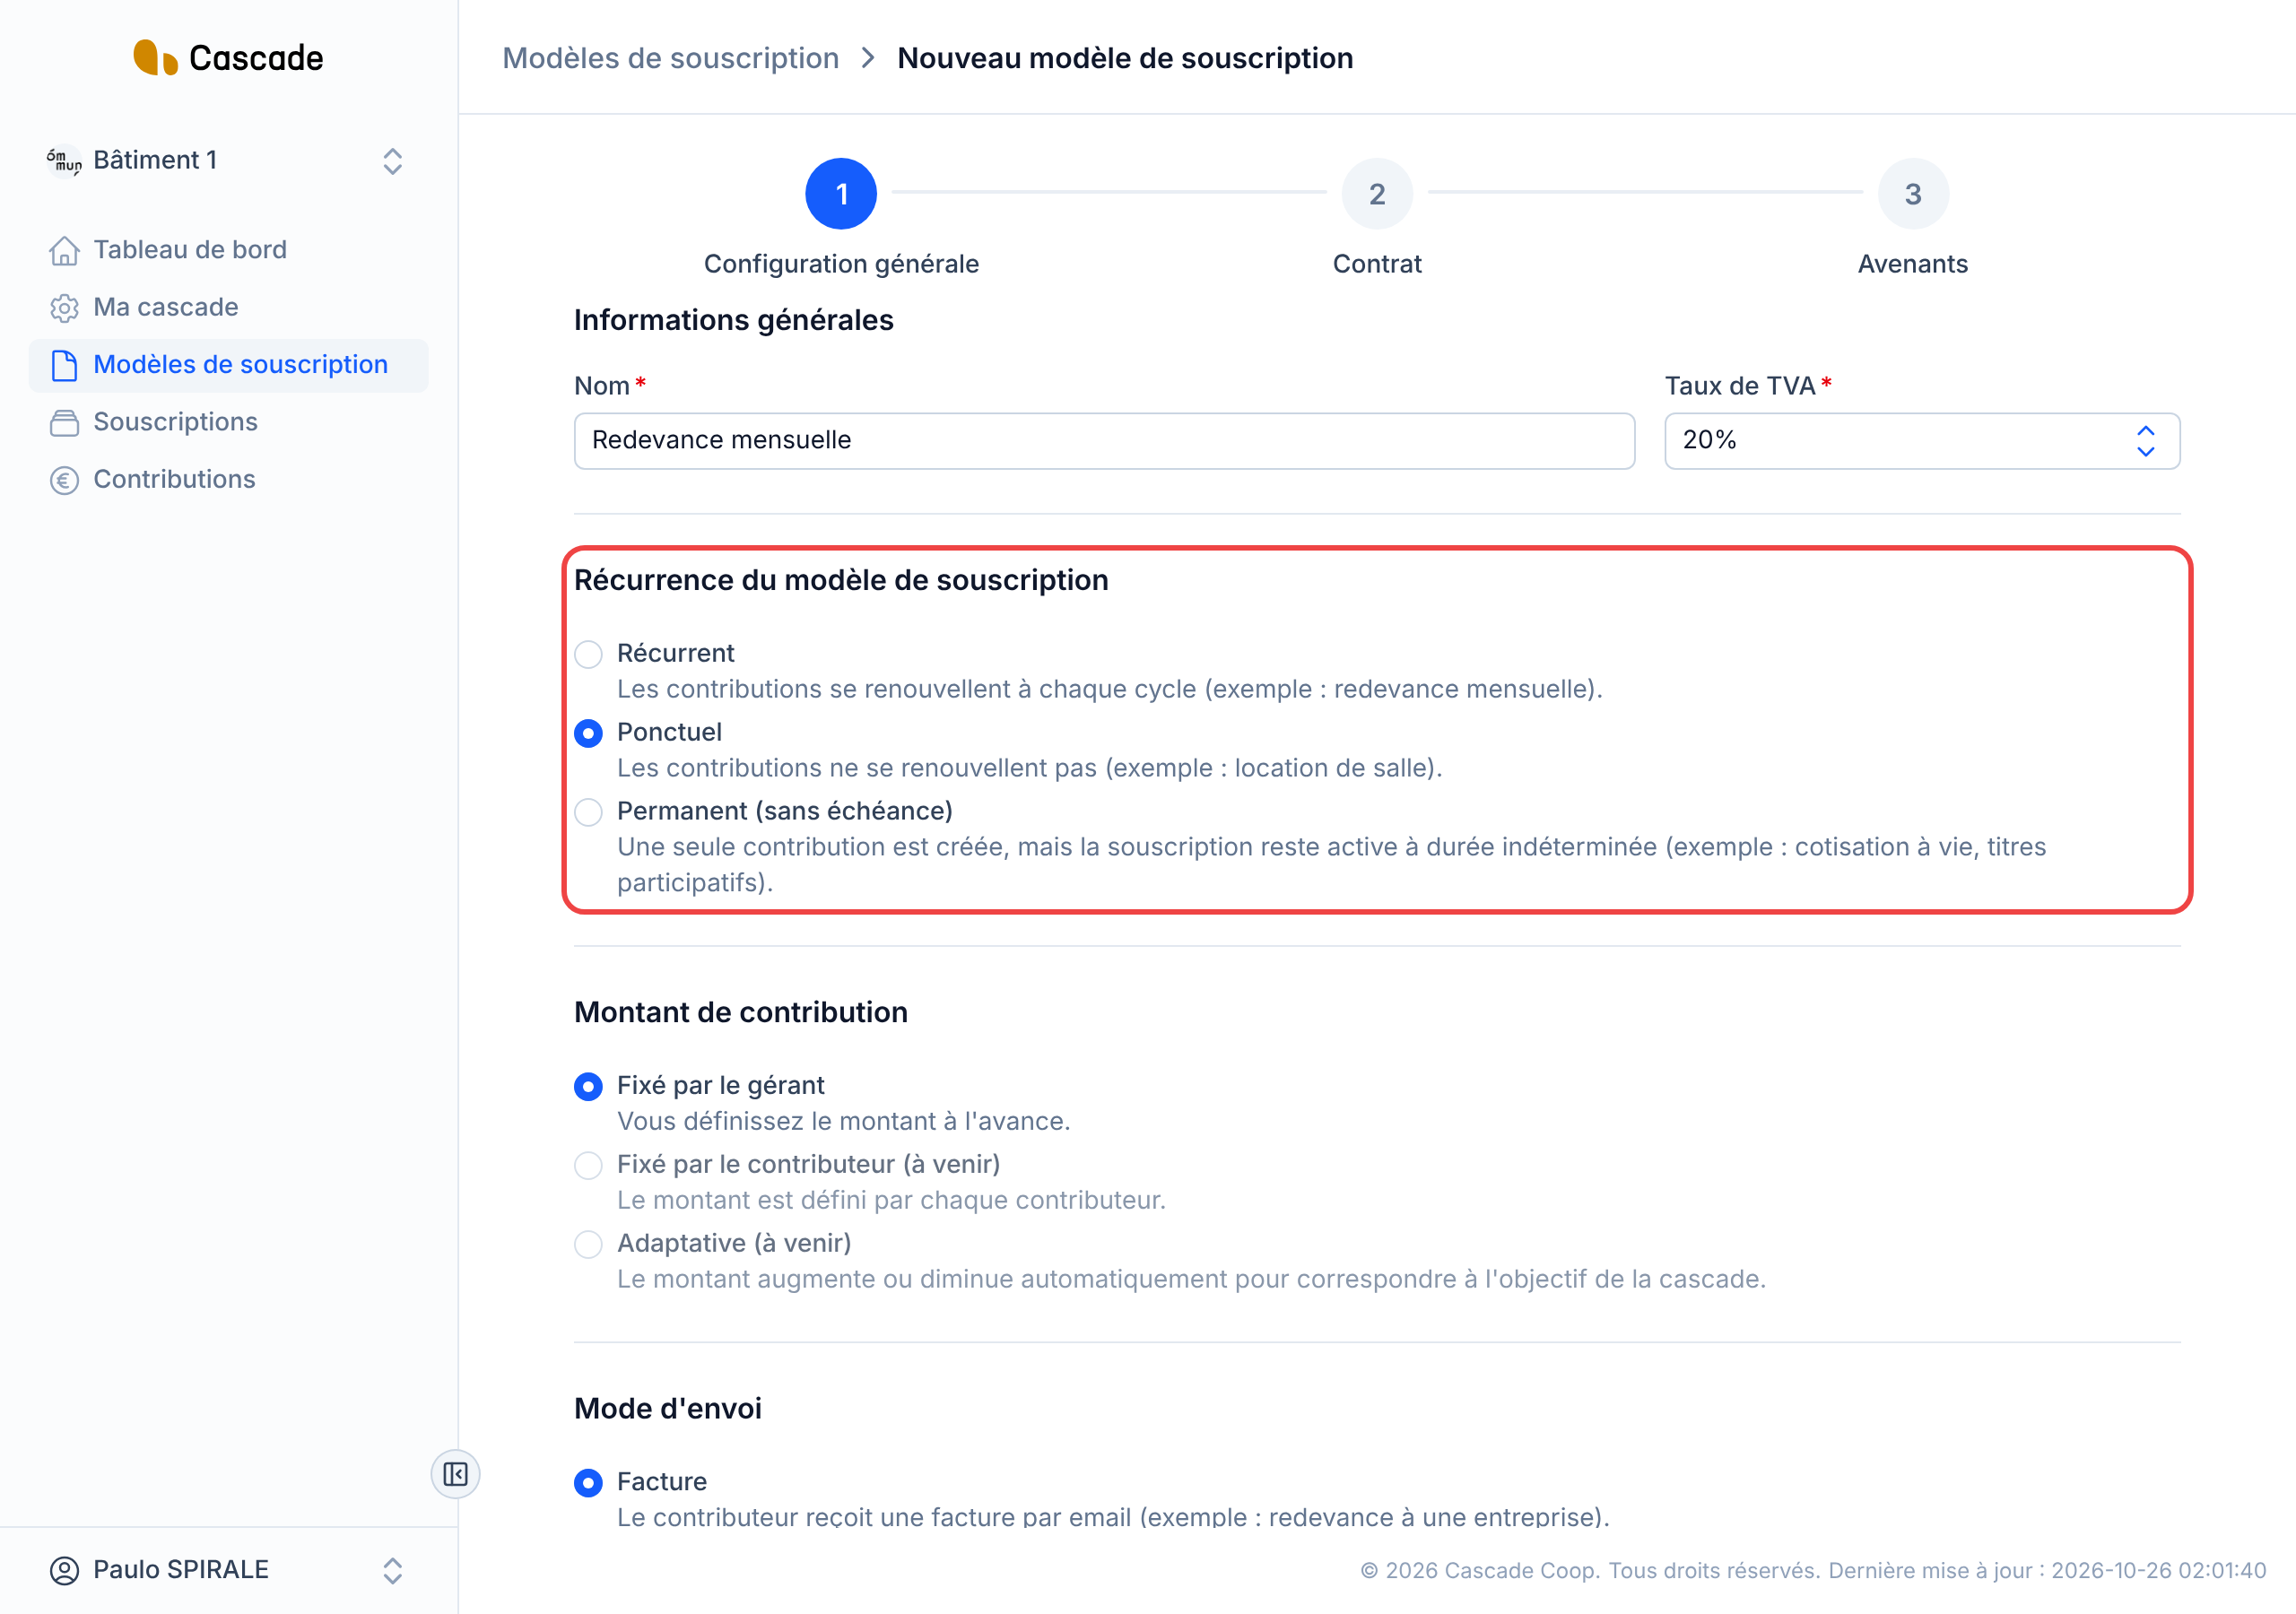
In the recurrence section, three choices:
- Récurrent (Recurring): the contribution comes back at regular intervals. Then choose the cycle (Mois (Month) for now, the other cycles are not available yet) and, if you wish, a default end date for subscriptions.
- Ponctuel (One-time): a single contribution, on the subscription's start date.
- Permanent: a single contribution on the start date, with no planned end.
For Ponctuel and Permanent, no additional field appears.
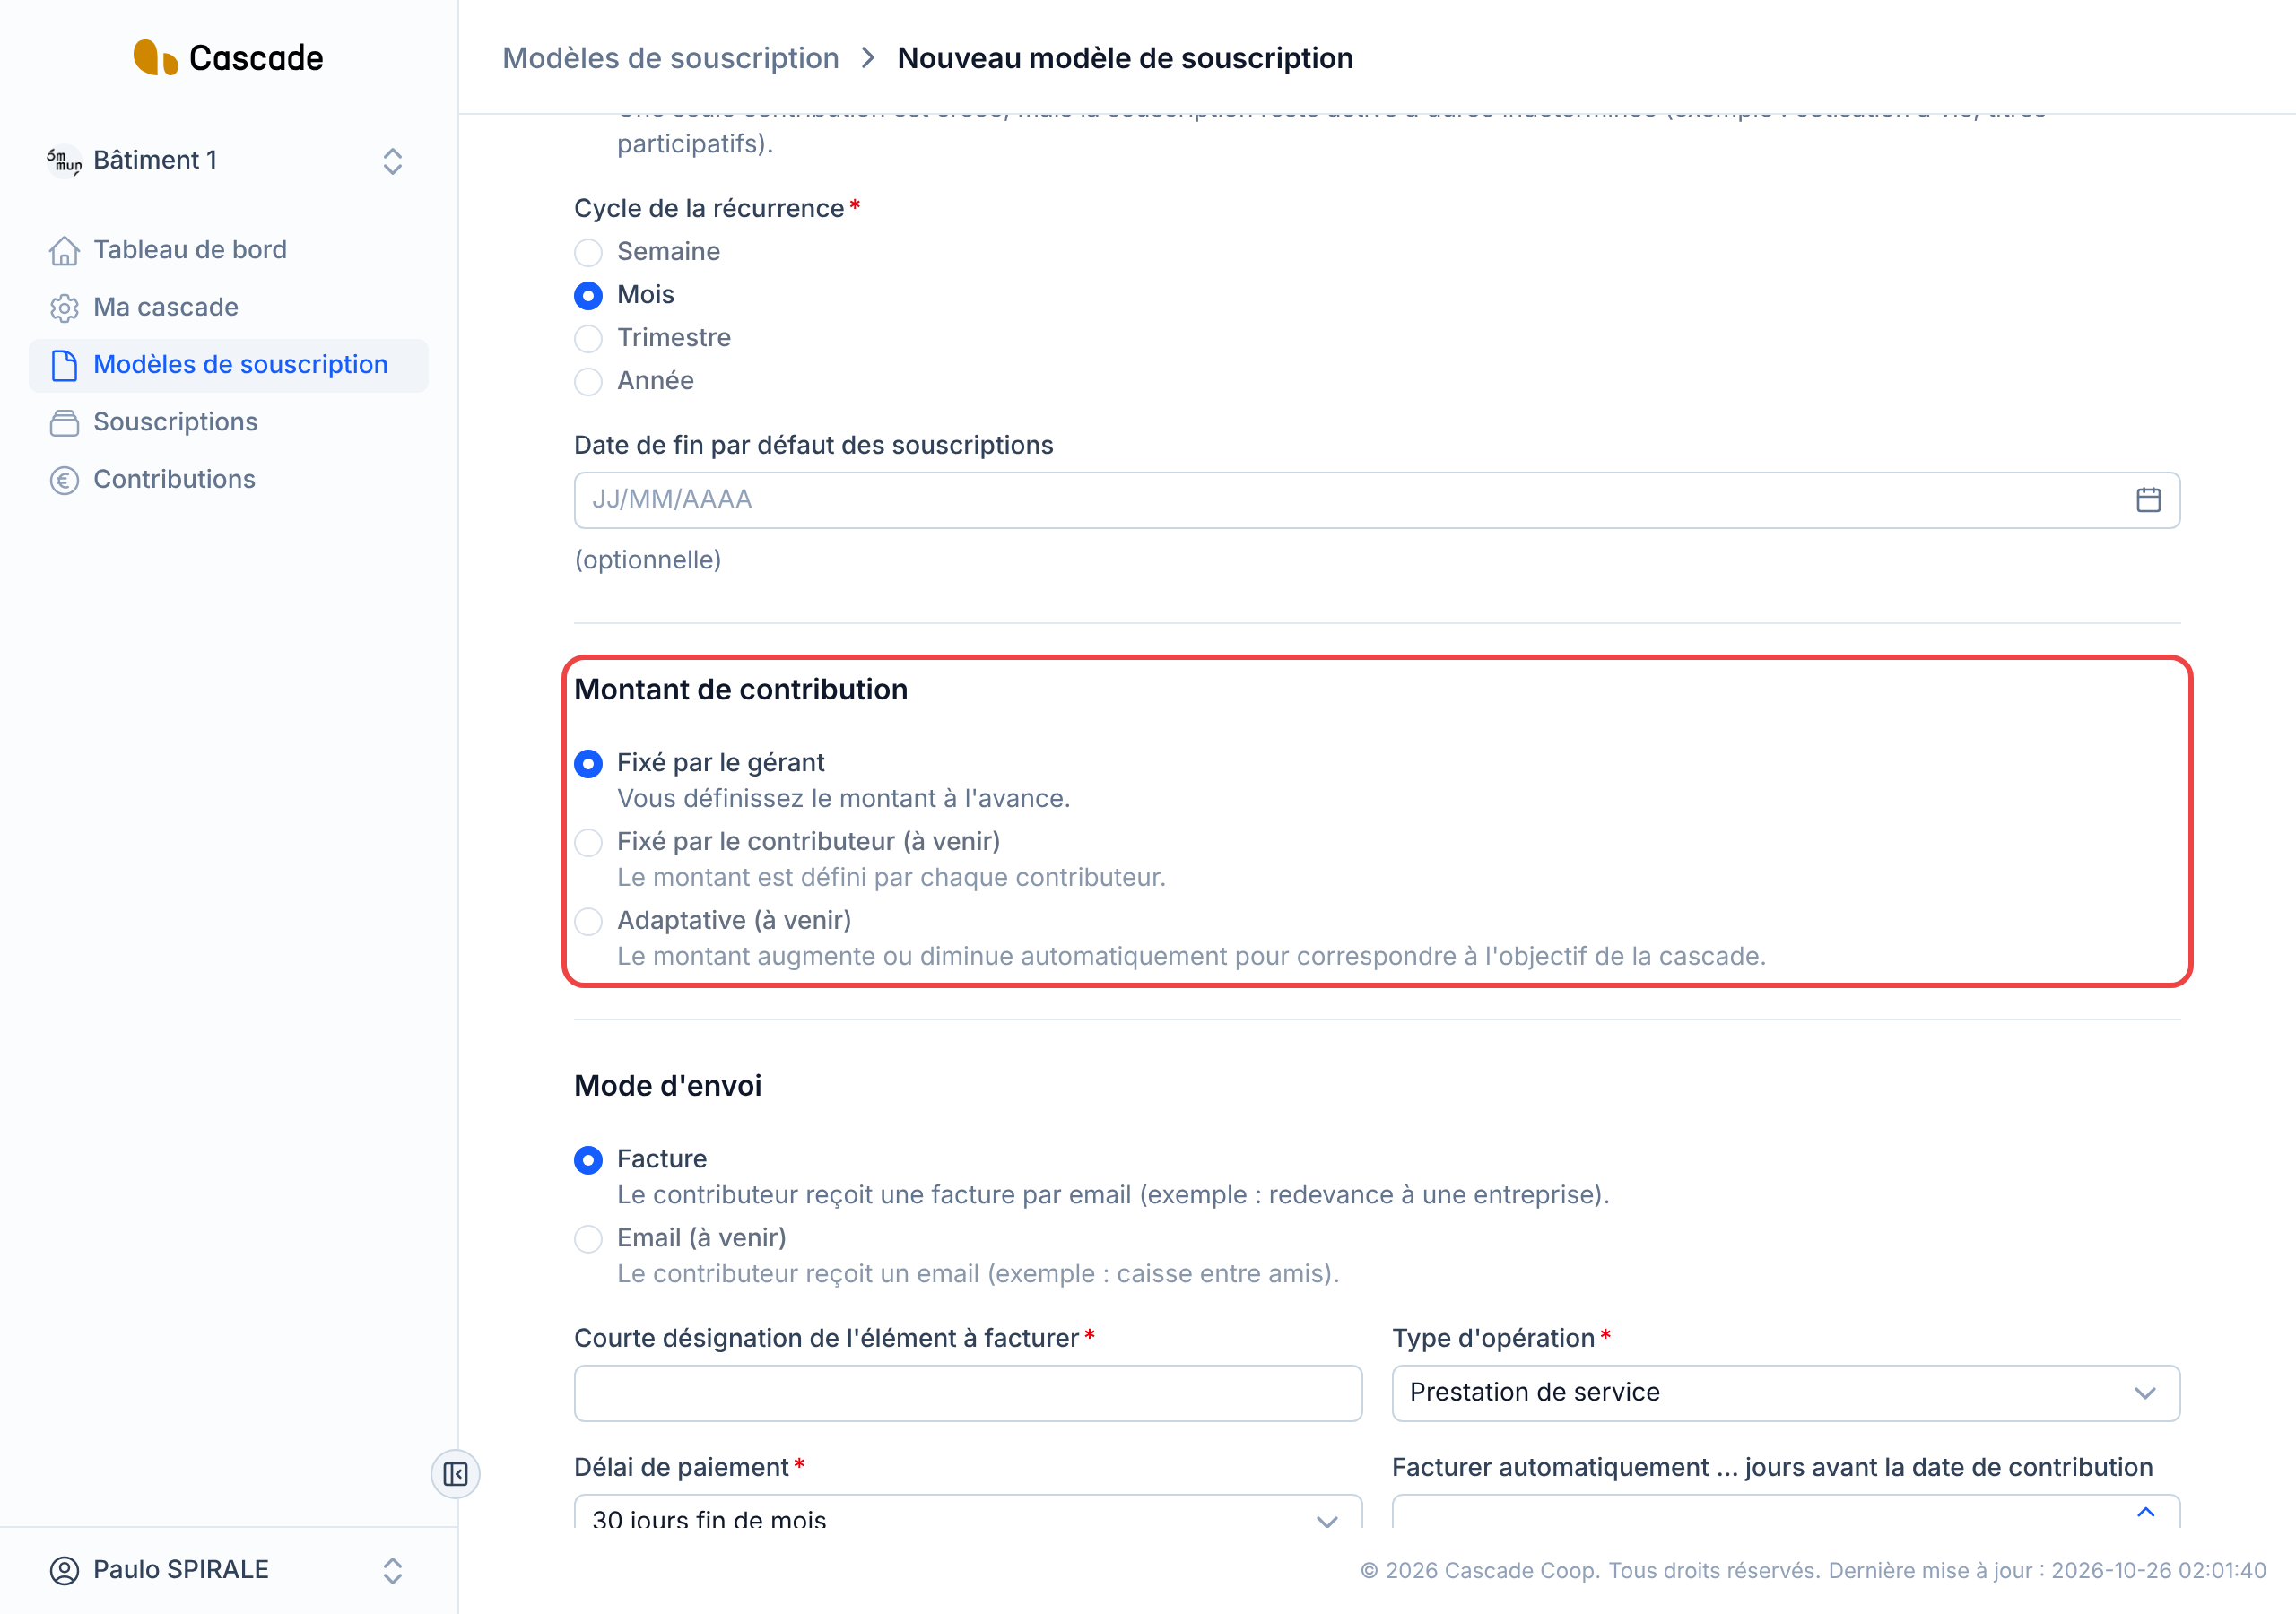
4. Check the contribution amount
For now, only one option exists: the amount is fixed by the manager, meaning you enter it yourself when creating each subscription. Nothing to set here.
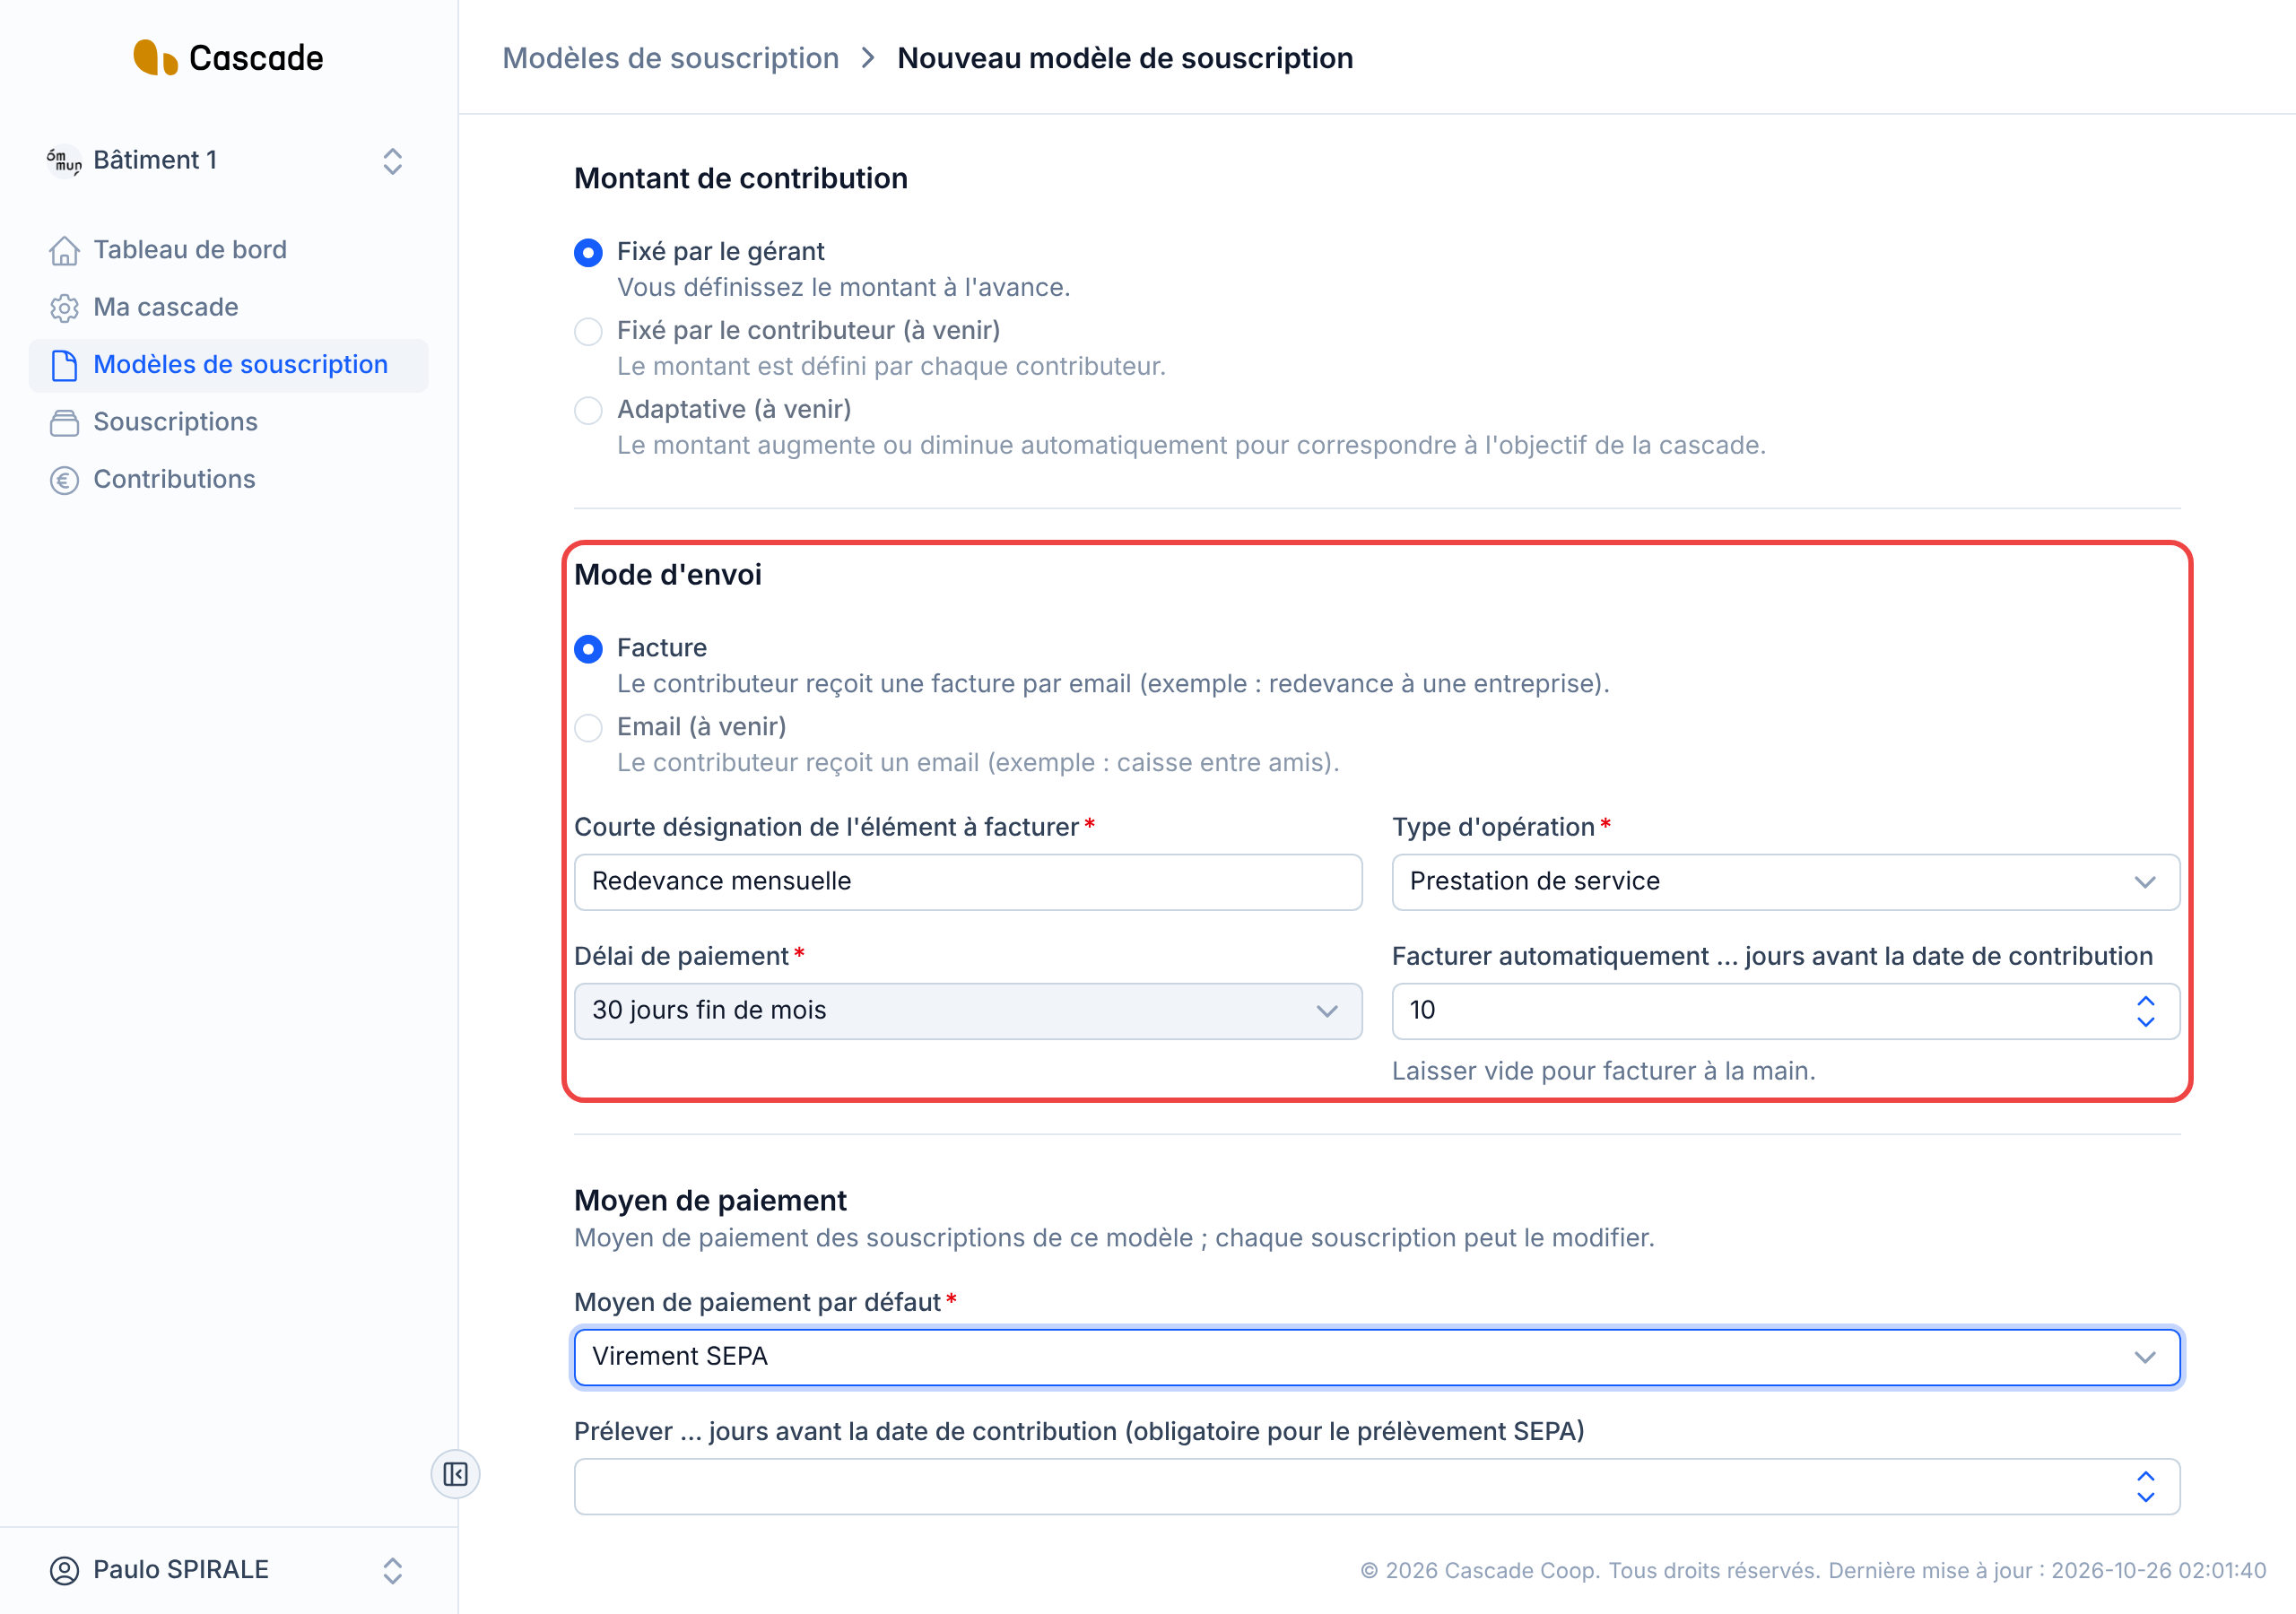
5. Set the sending method
With Facture (Invoice), you fill in a Désignation (Invoice description) (the label that will appear on the invoice), the Type d'opération (Operation type), the Délai de paiement (Payment terms) and the number of days before the contribution date from which the invoice is created automatically. The Email option is announced as "coming soon" and cannot be chosen.
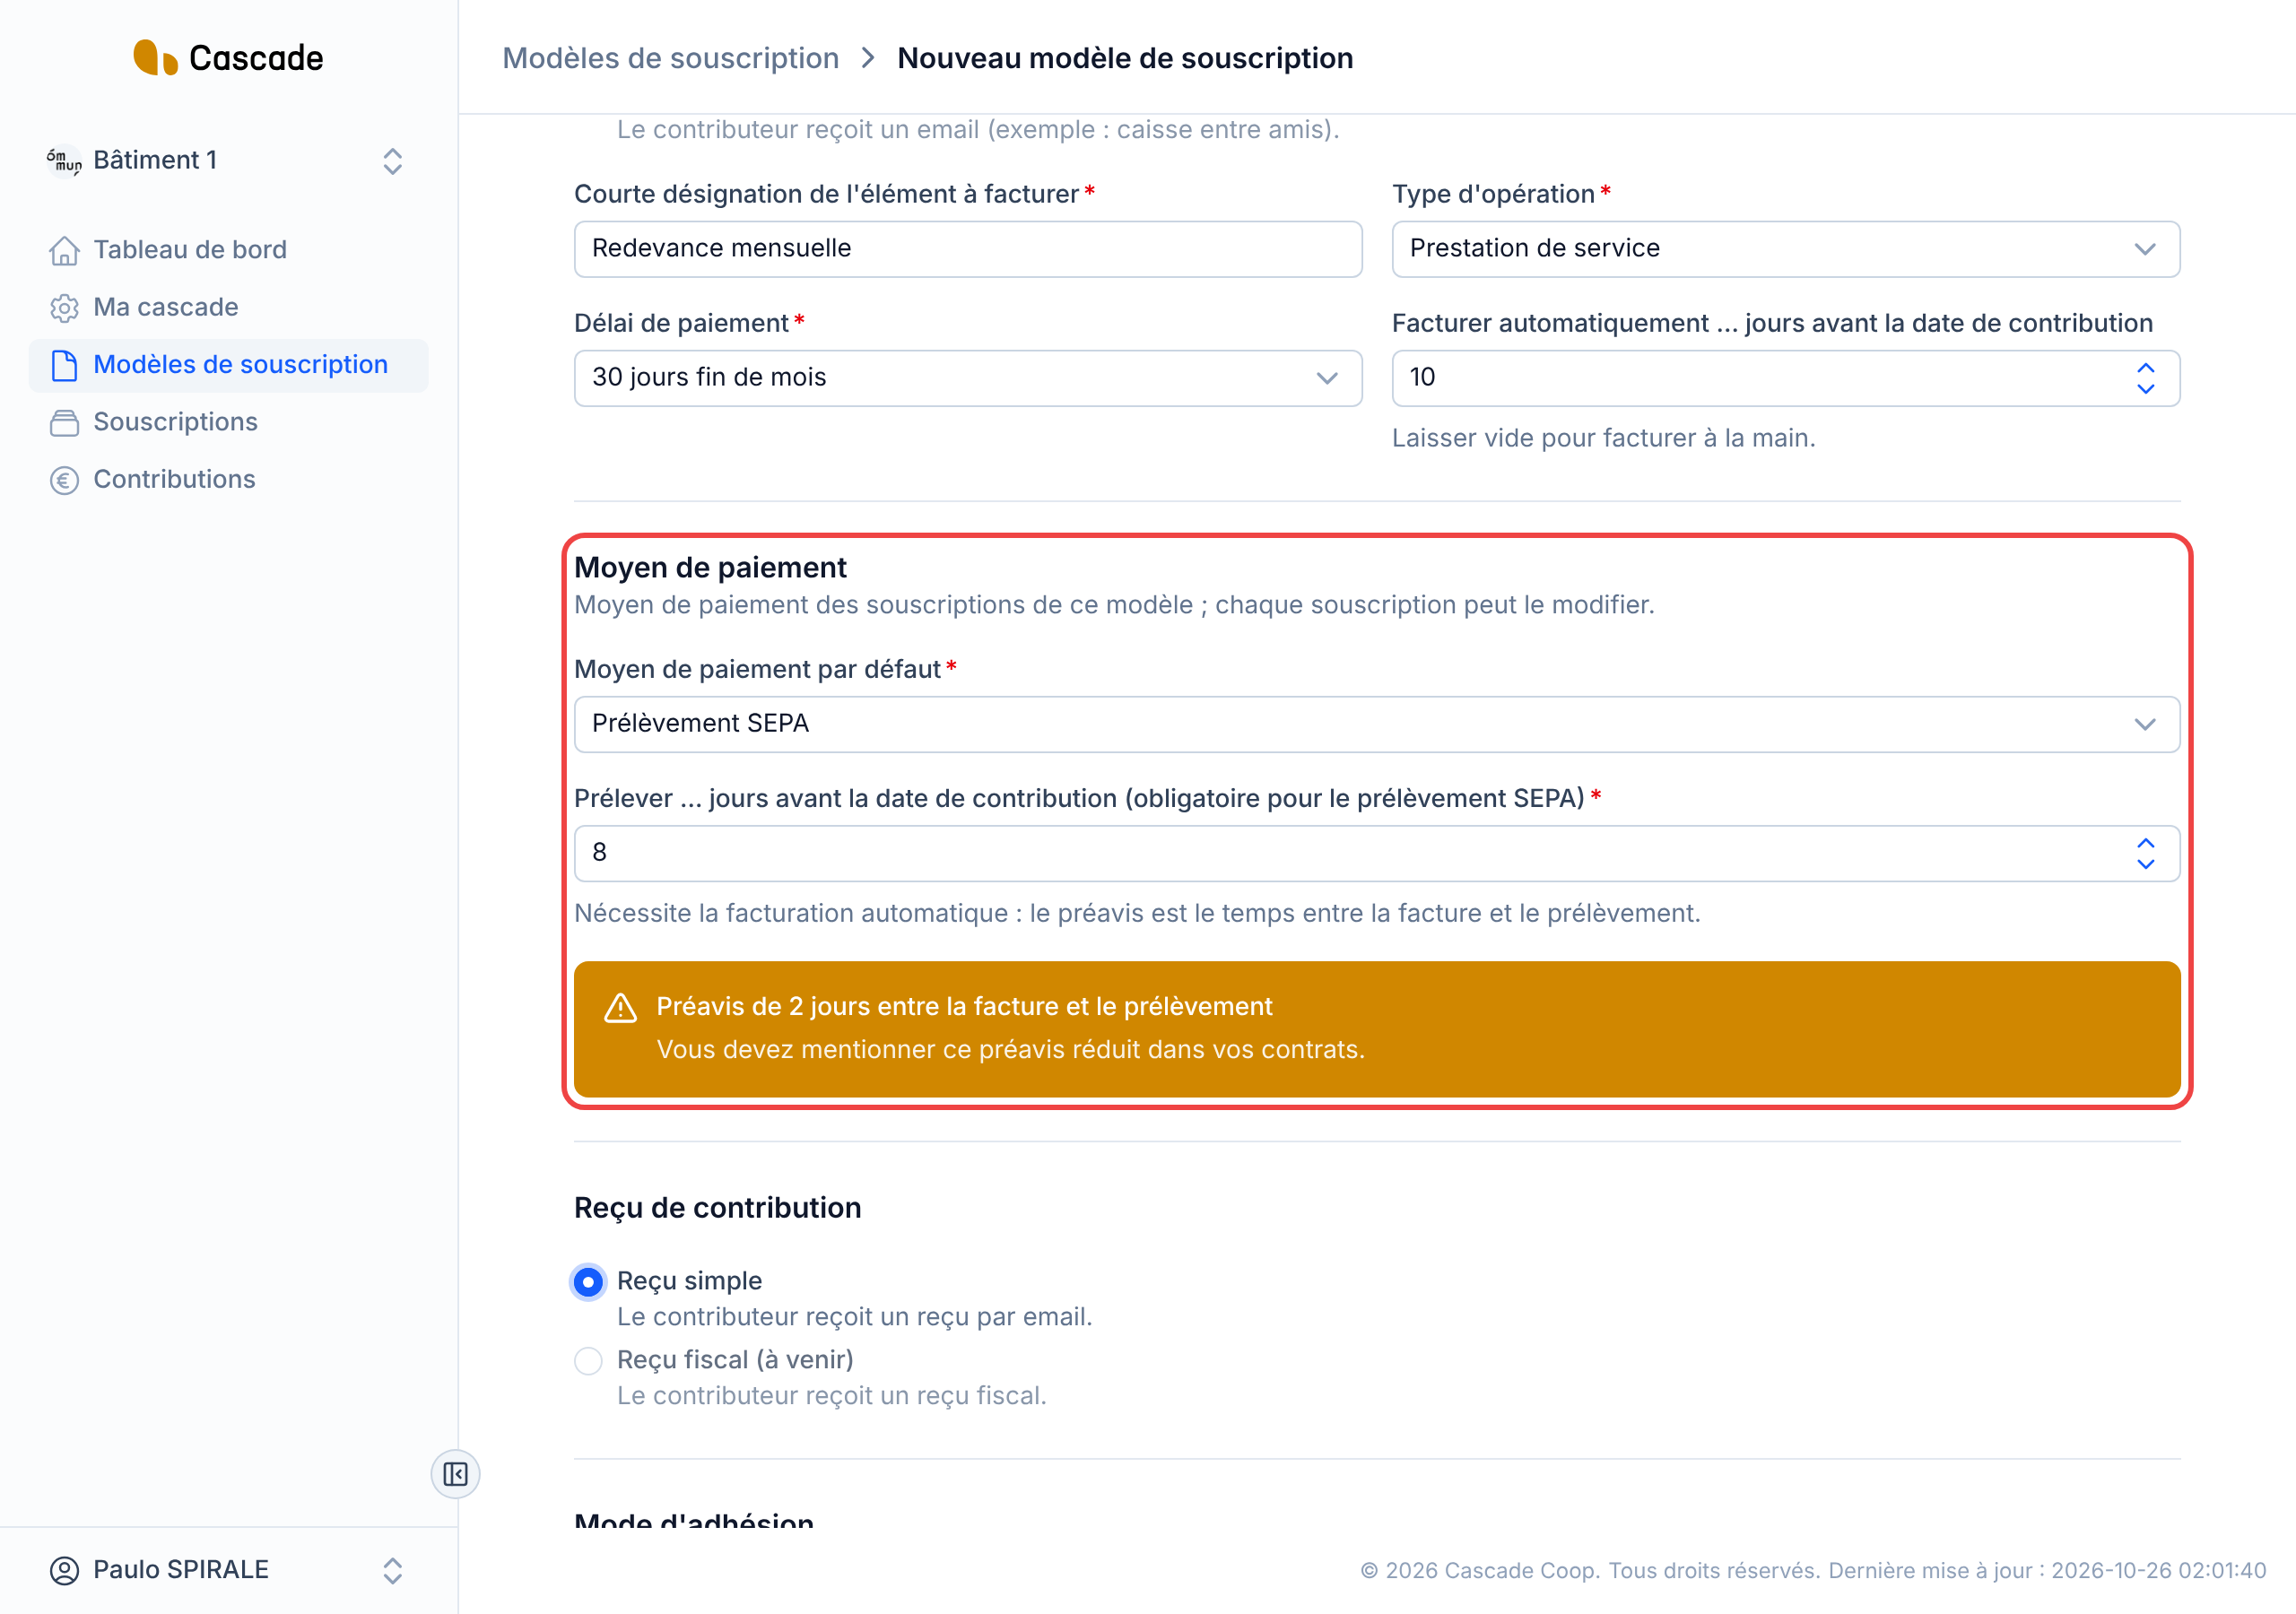
6. Choose the default payment method
Five methods are offered: Carte bancaire (Bank card), Virement SEPA (SEPA transfer), Prélèvement SEPA (SEPA direct debit), Espèces (Cash) and Chèque (Cheque). With Prélèvement SEPA, a direct debit lead time field appears: at least 2 days are required between the invoice and the direct debit, automatic invoicing must be active, and a warning tells you when the notice period is shortened (between 2 and 13 days). Another warning is displayed if the online payment account is not operational. See Choose the default payment method and the direct debit lead time.
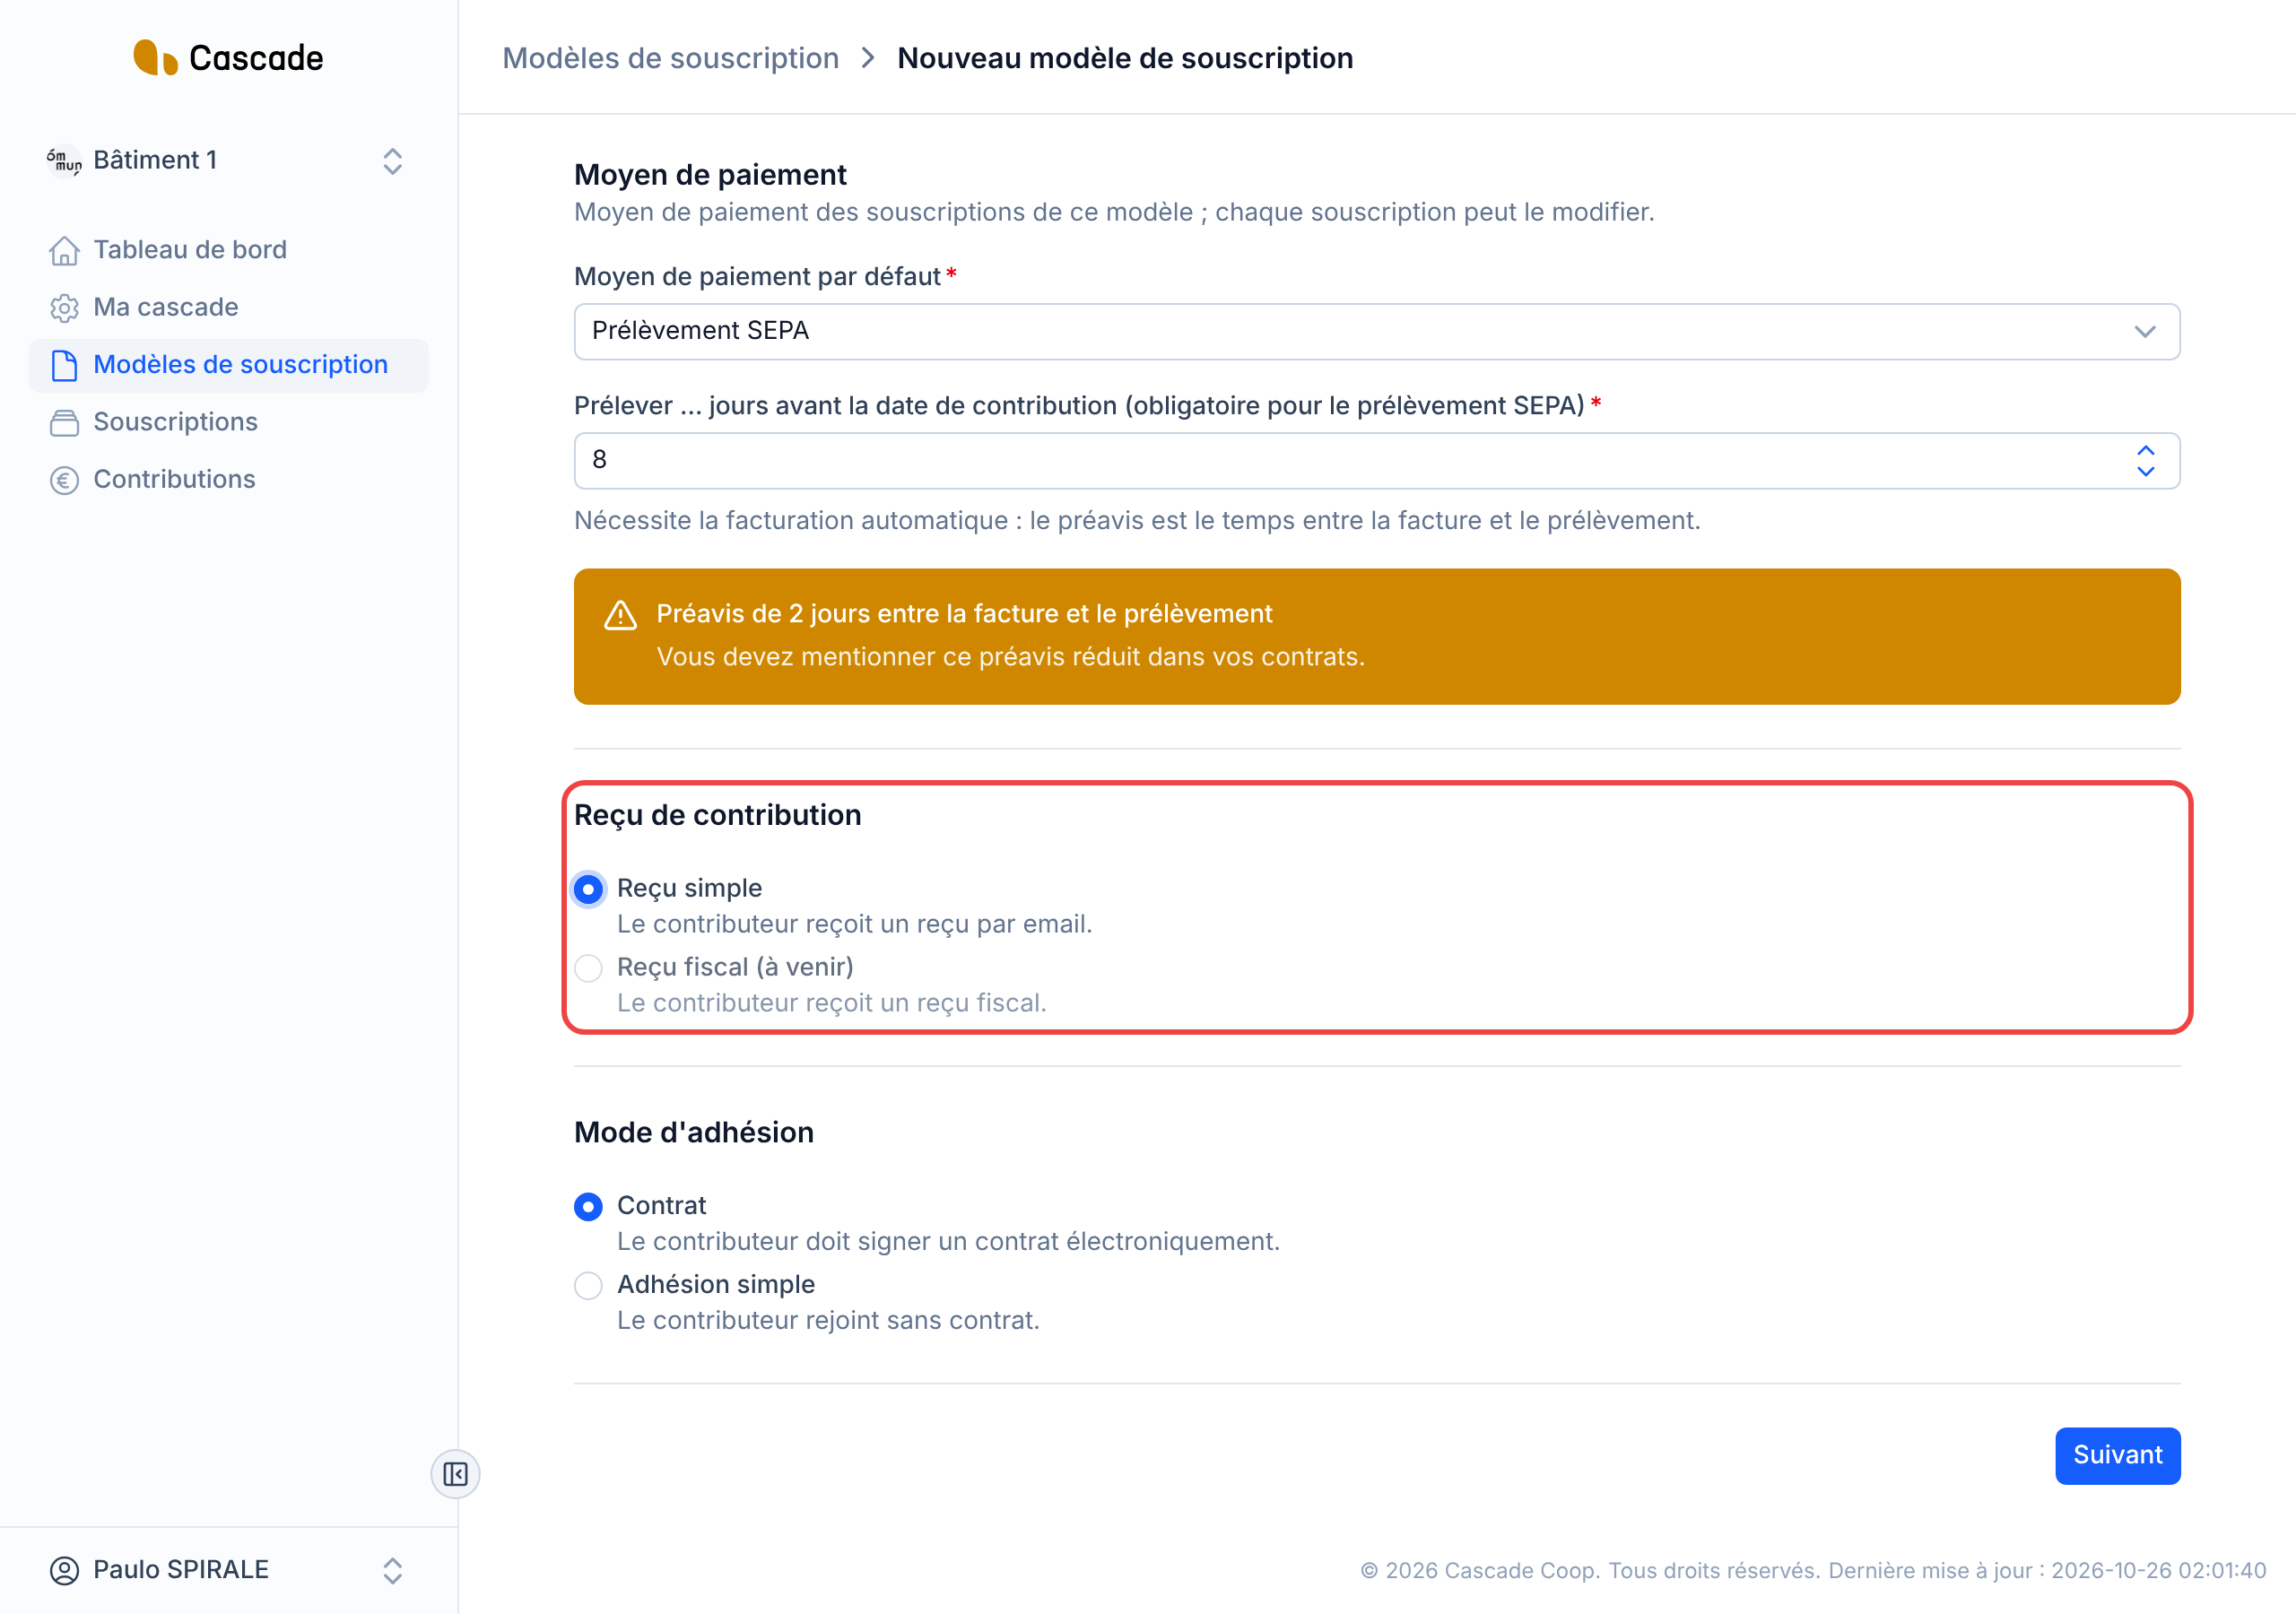
7. Choose the contribution receipt
Only one type is available for now: the simple receipt.
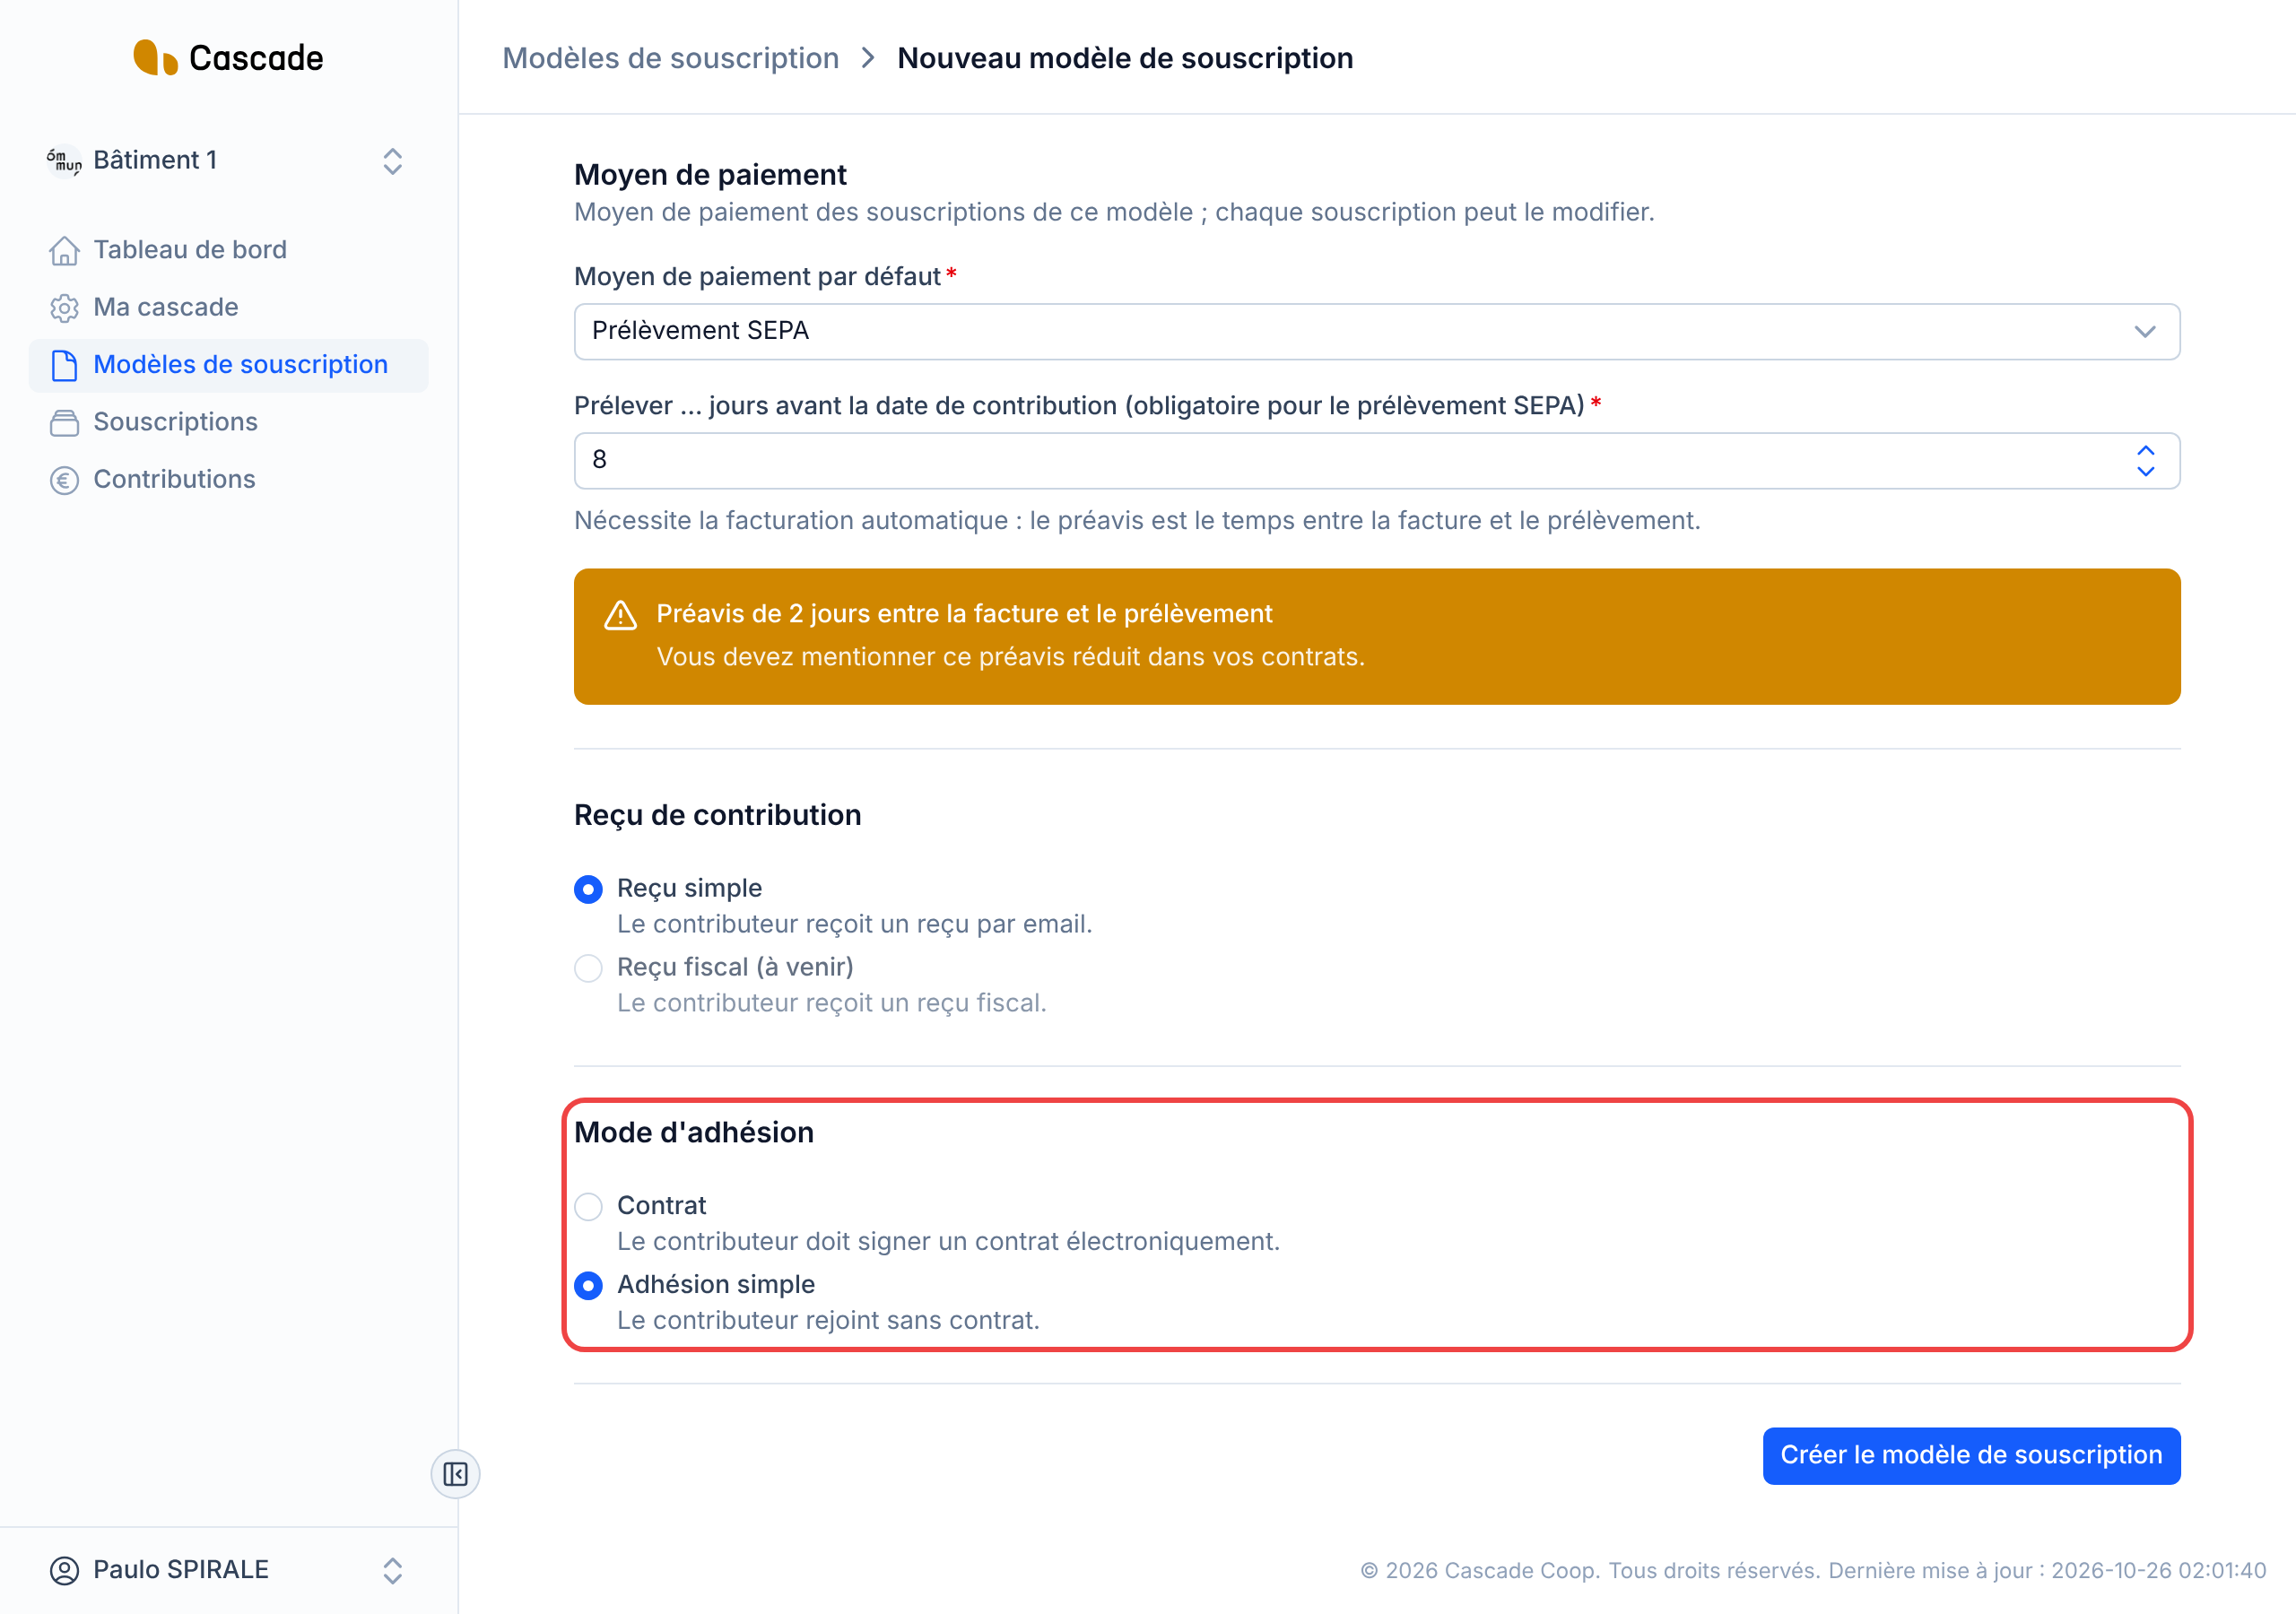
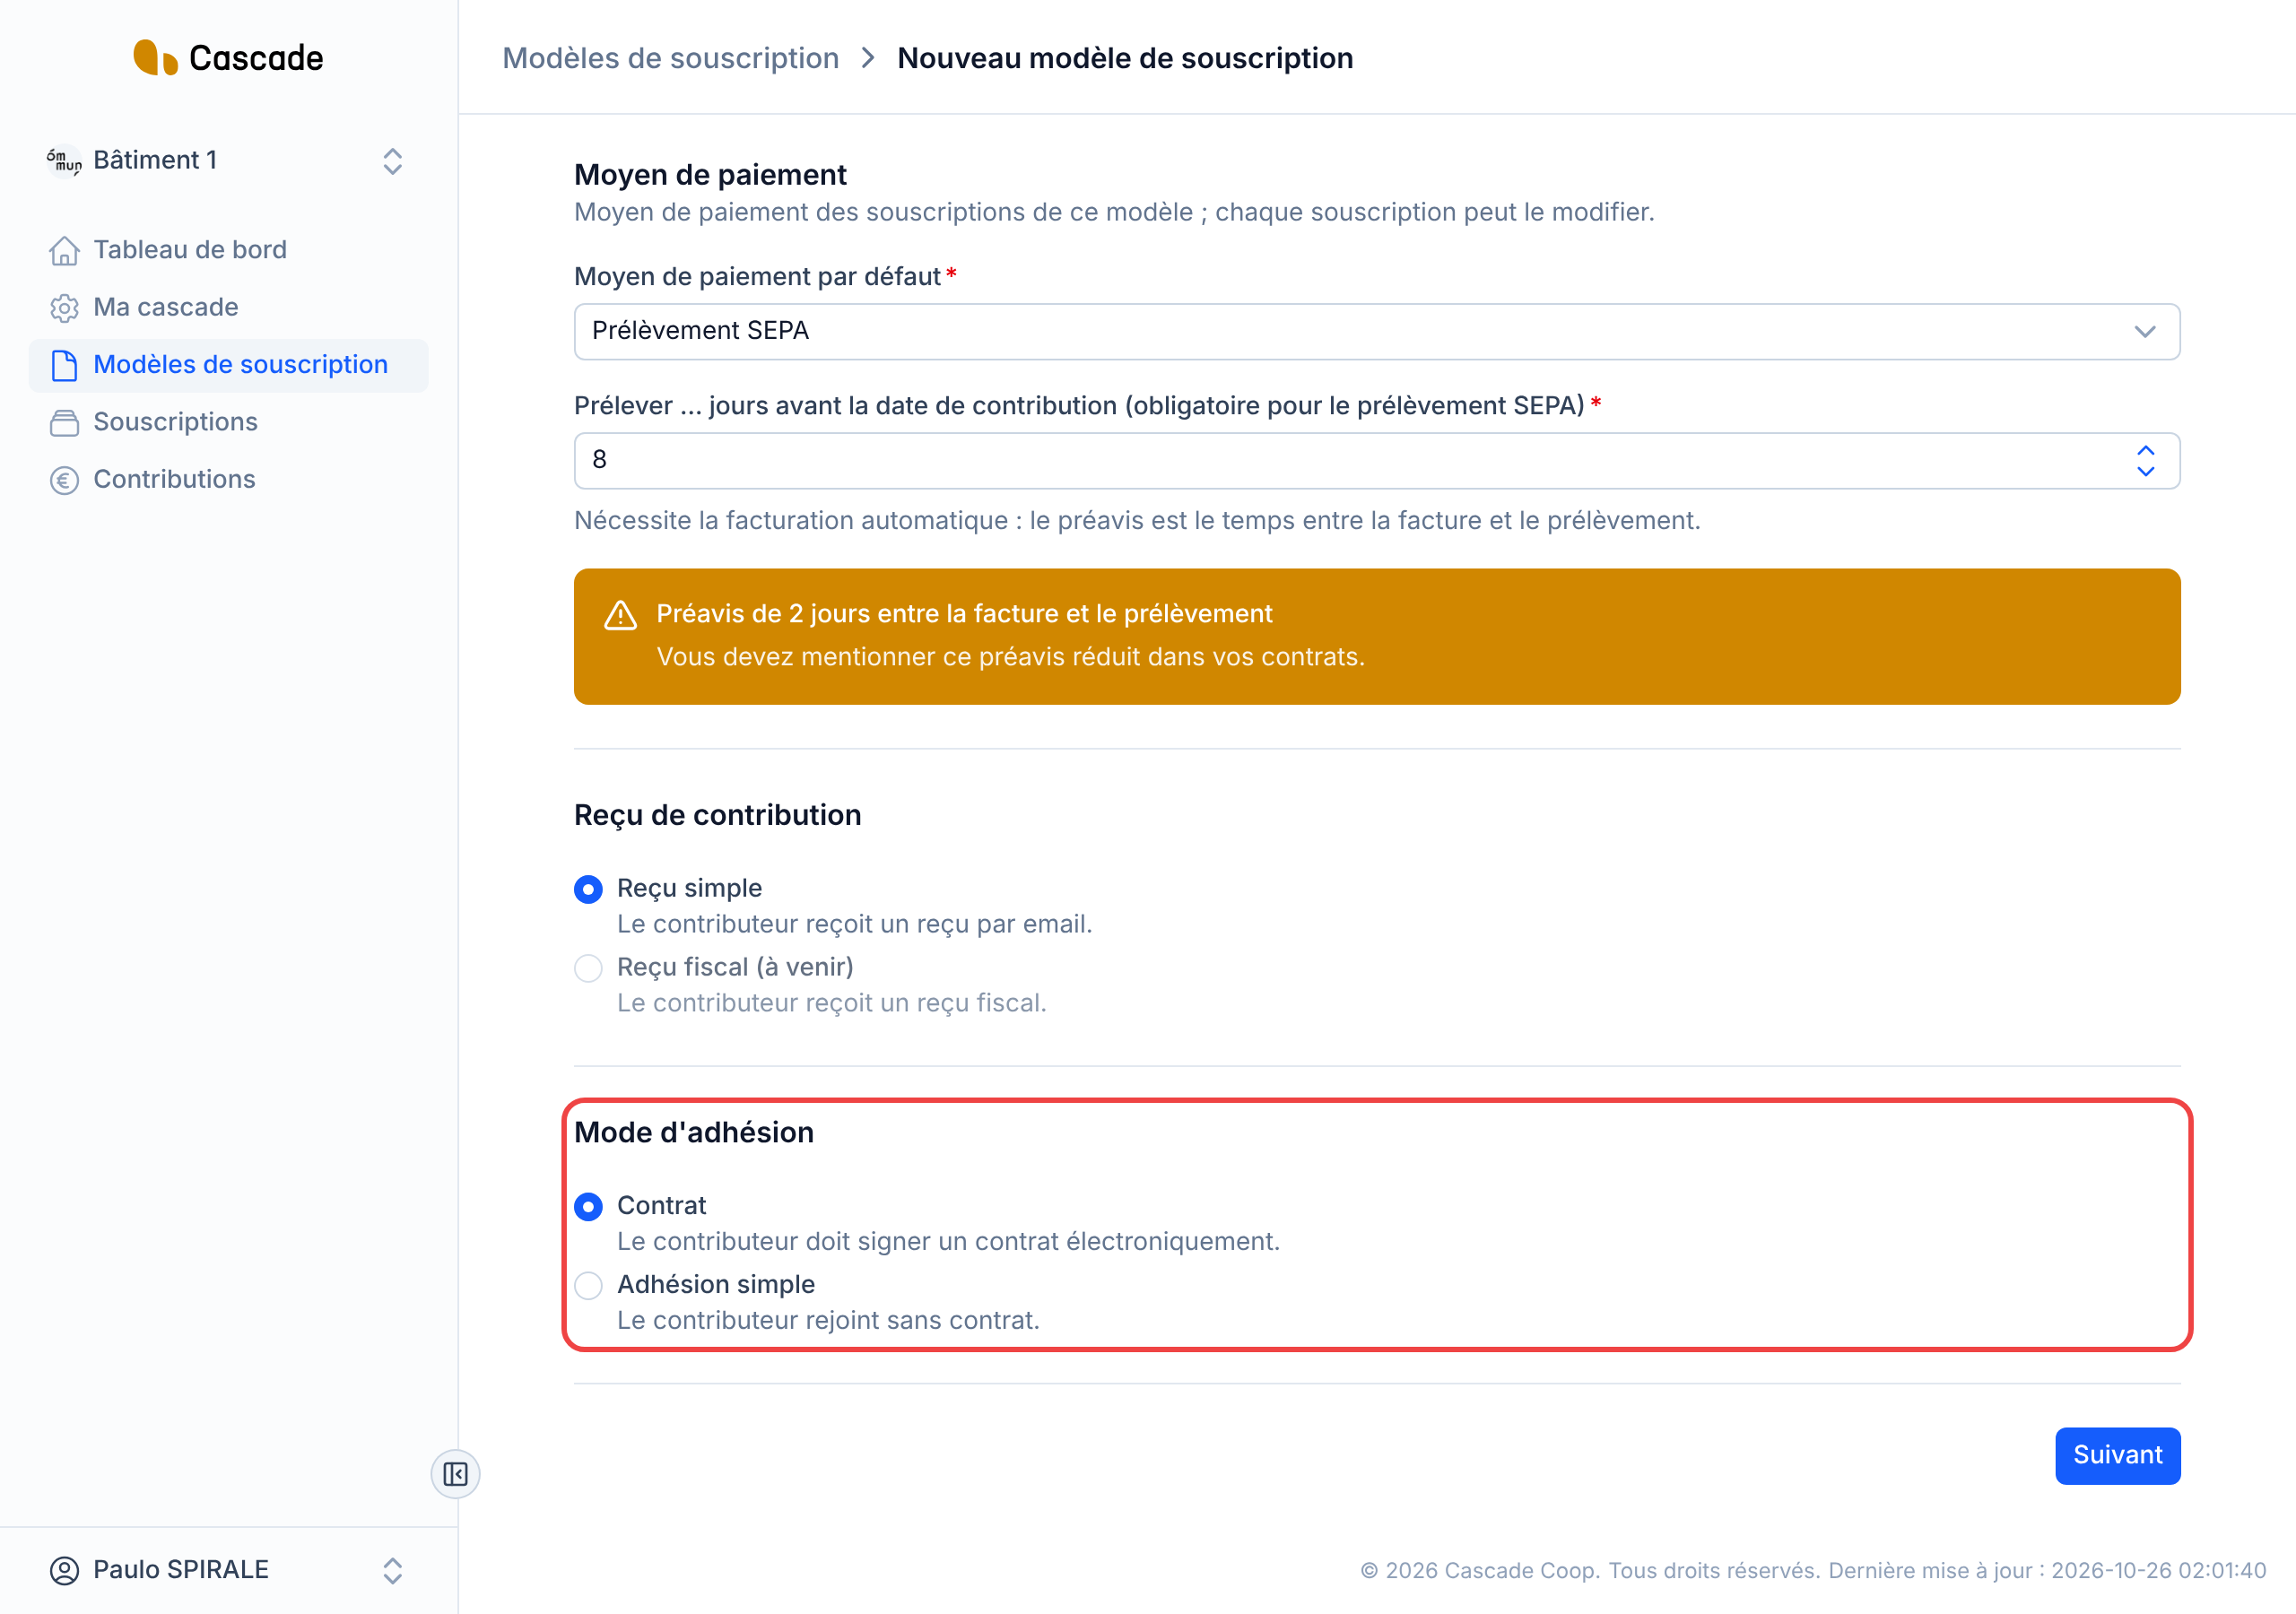
8. Choose the membership method
- Adhésion simple (Simple membership): the contributor has nothing to sign. The form is complete, you can create the model.
- Contrat (Contract): the contributor signs a contract. Two steps are added: Contrat and Avenants (Amendments). Click Suivant (Next).
9. Prepare the contract documents
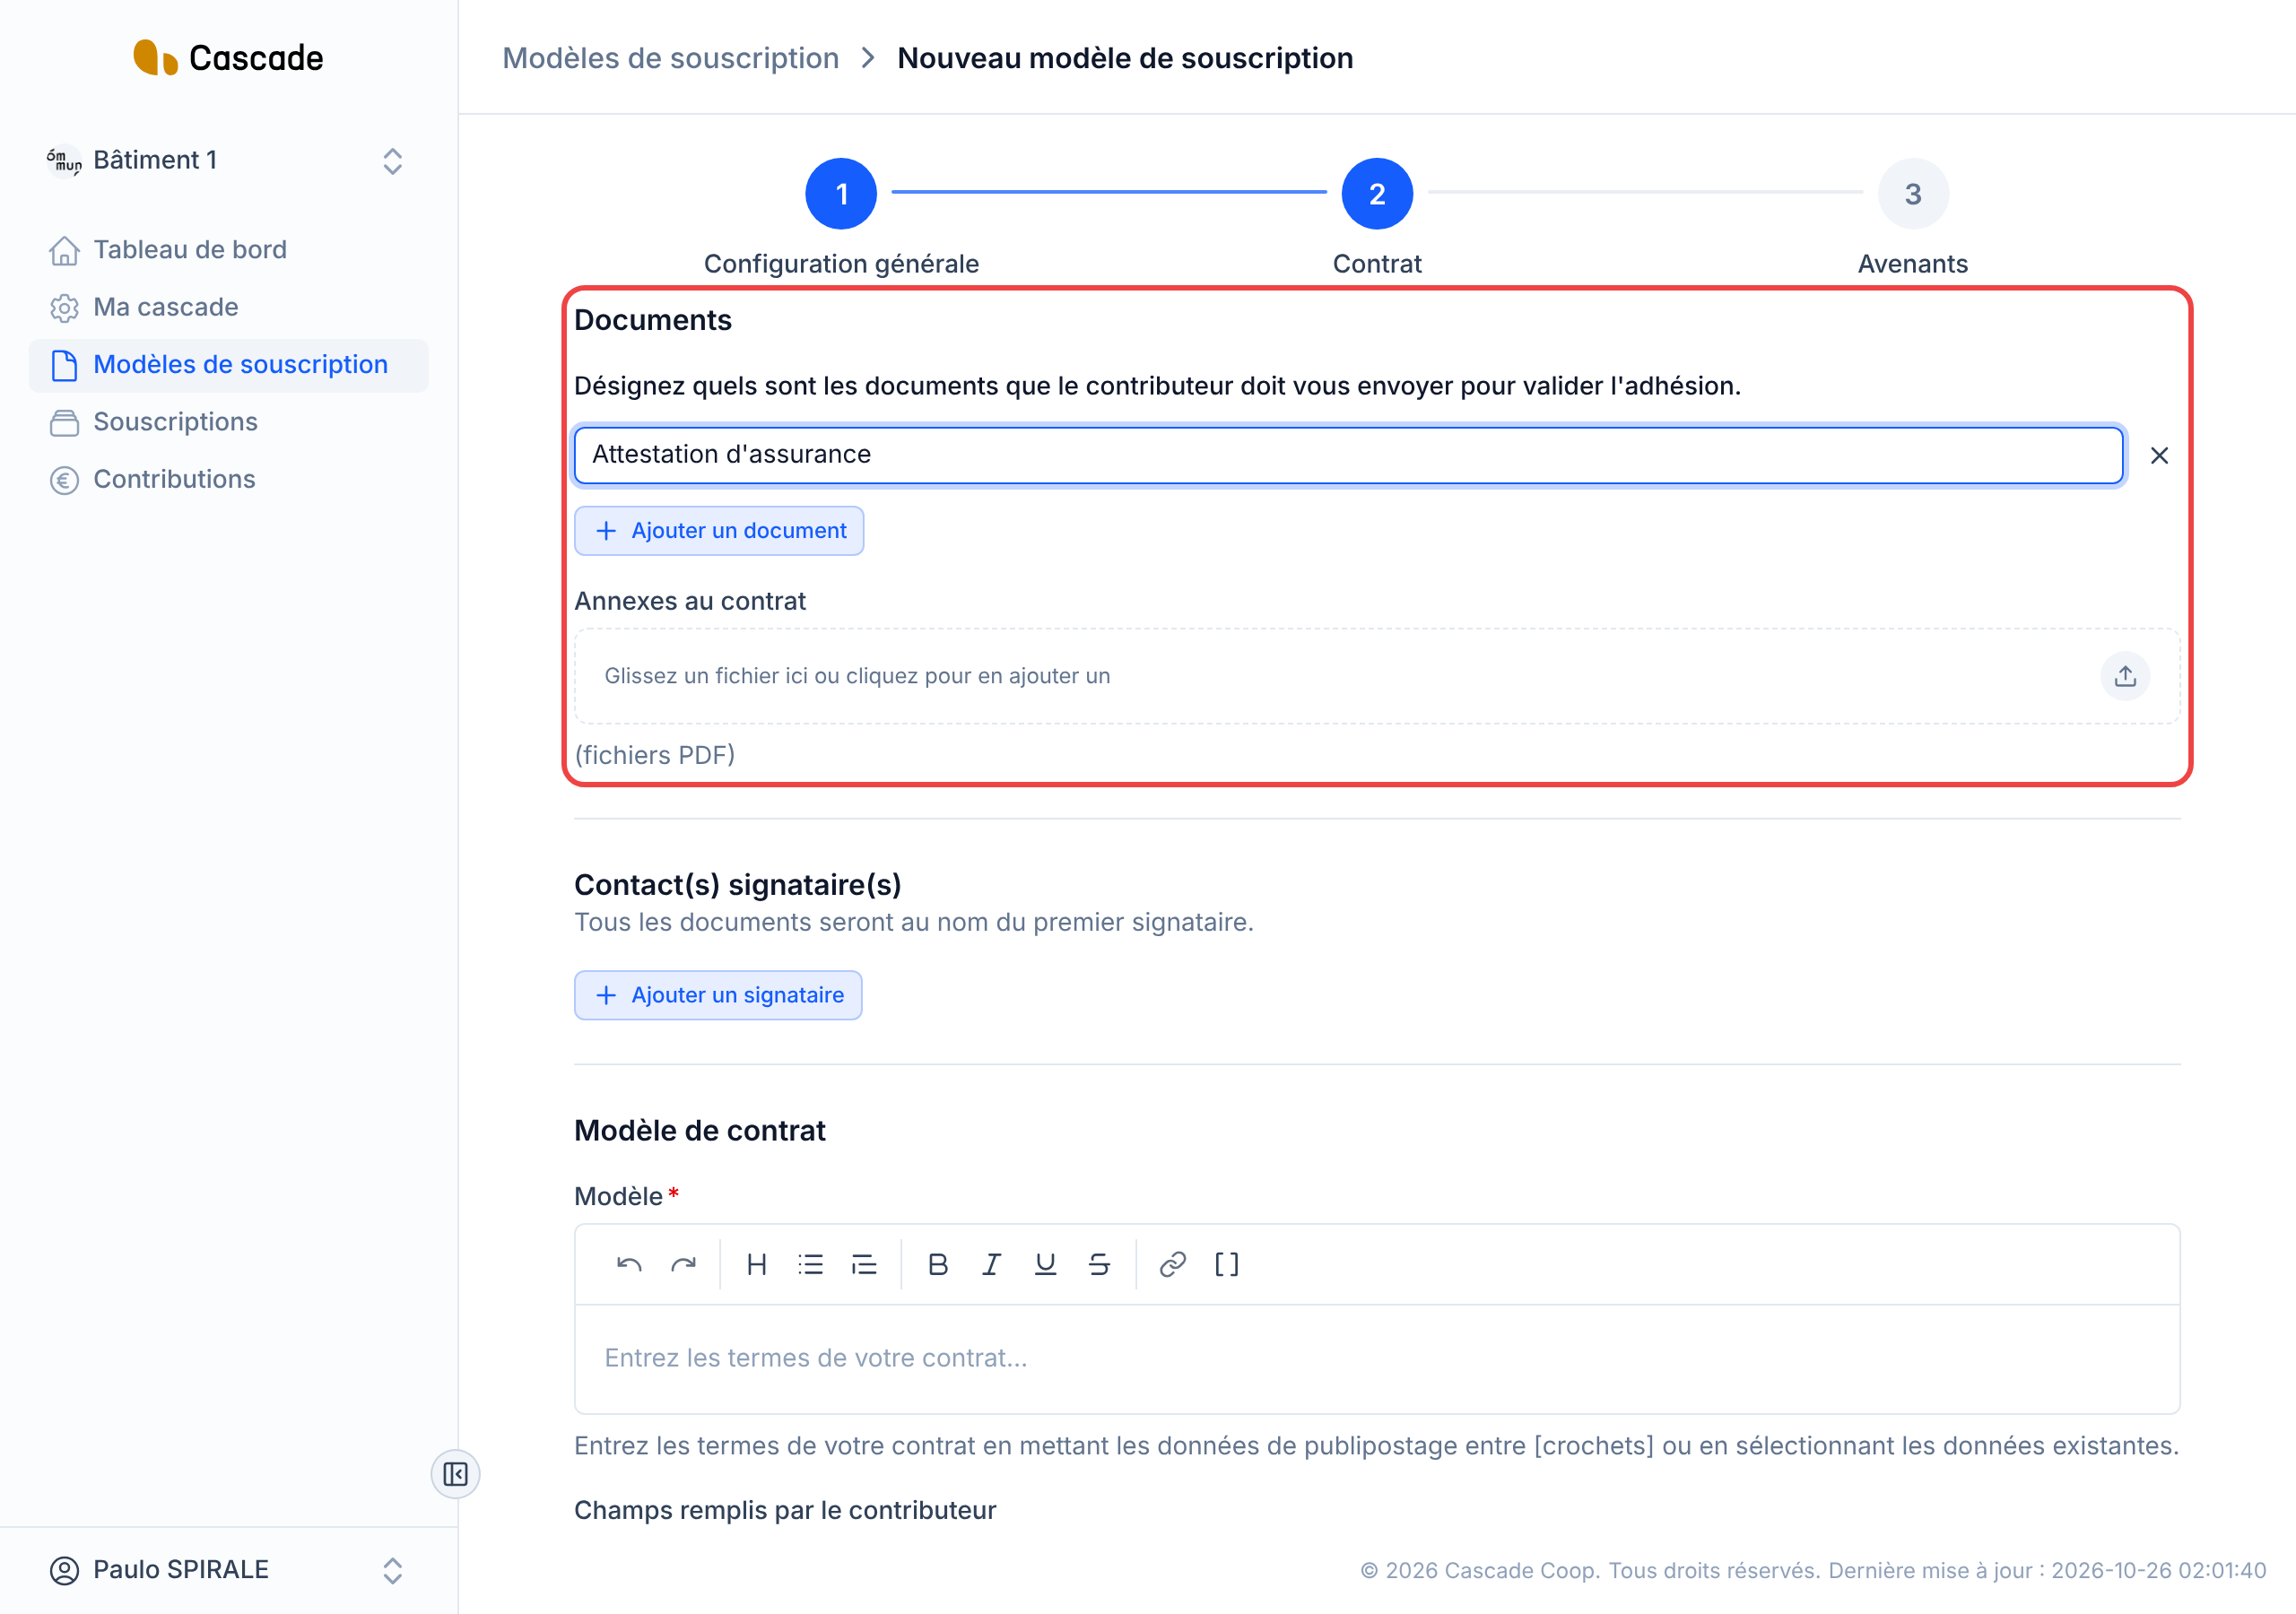
At the Contrat (Contract) step, you can ask the contributor for supporting documents: the setting is detailed in Define the supporting documents required. You can also attach annexes in PDF format, which will be added to the contract.
10. Add the signers
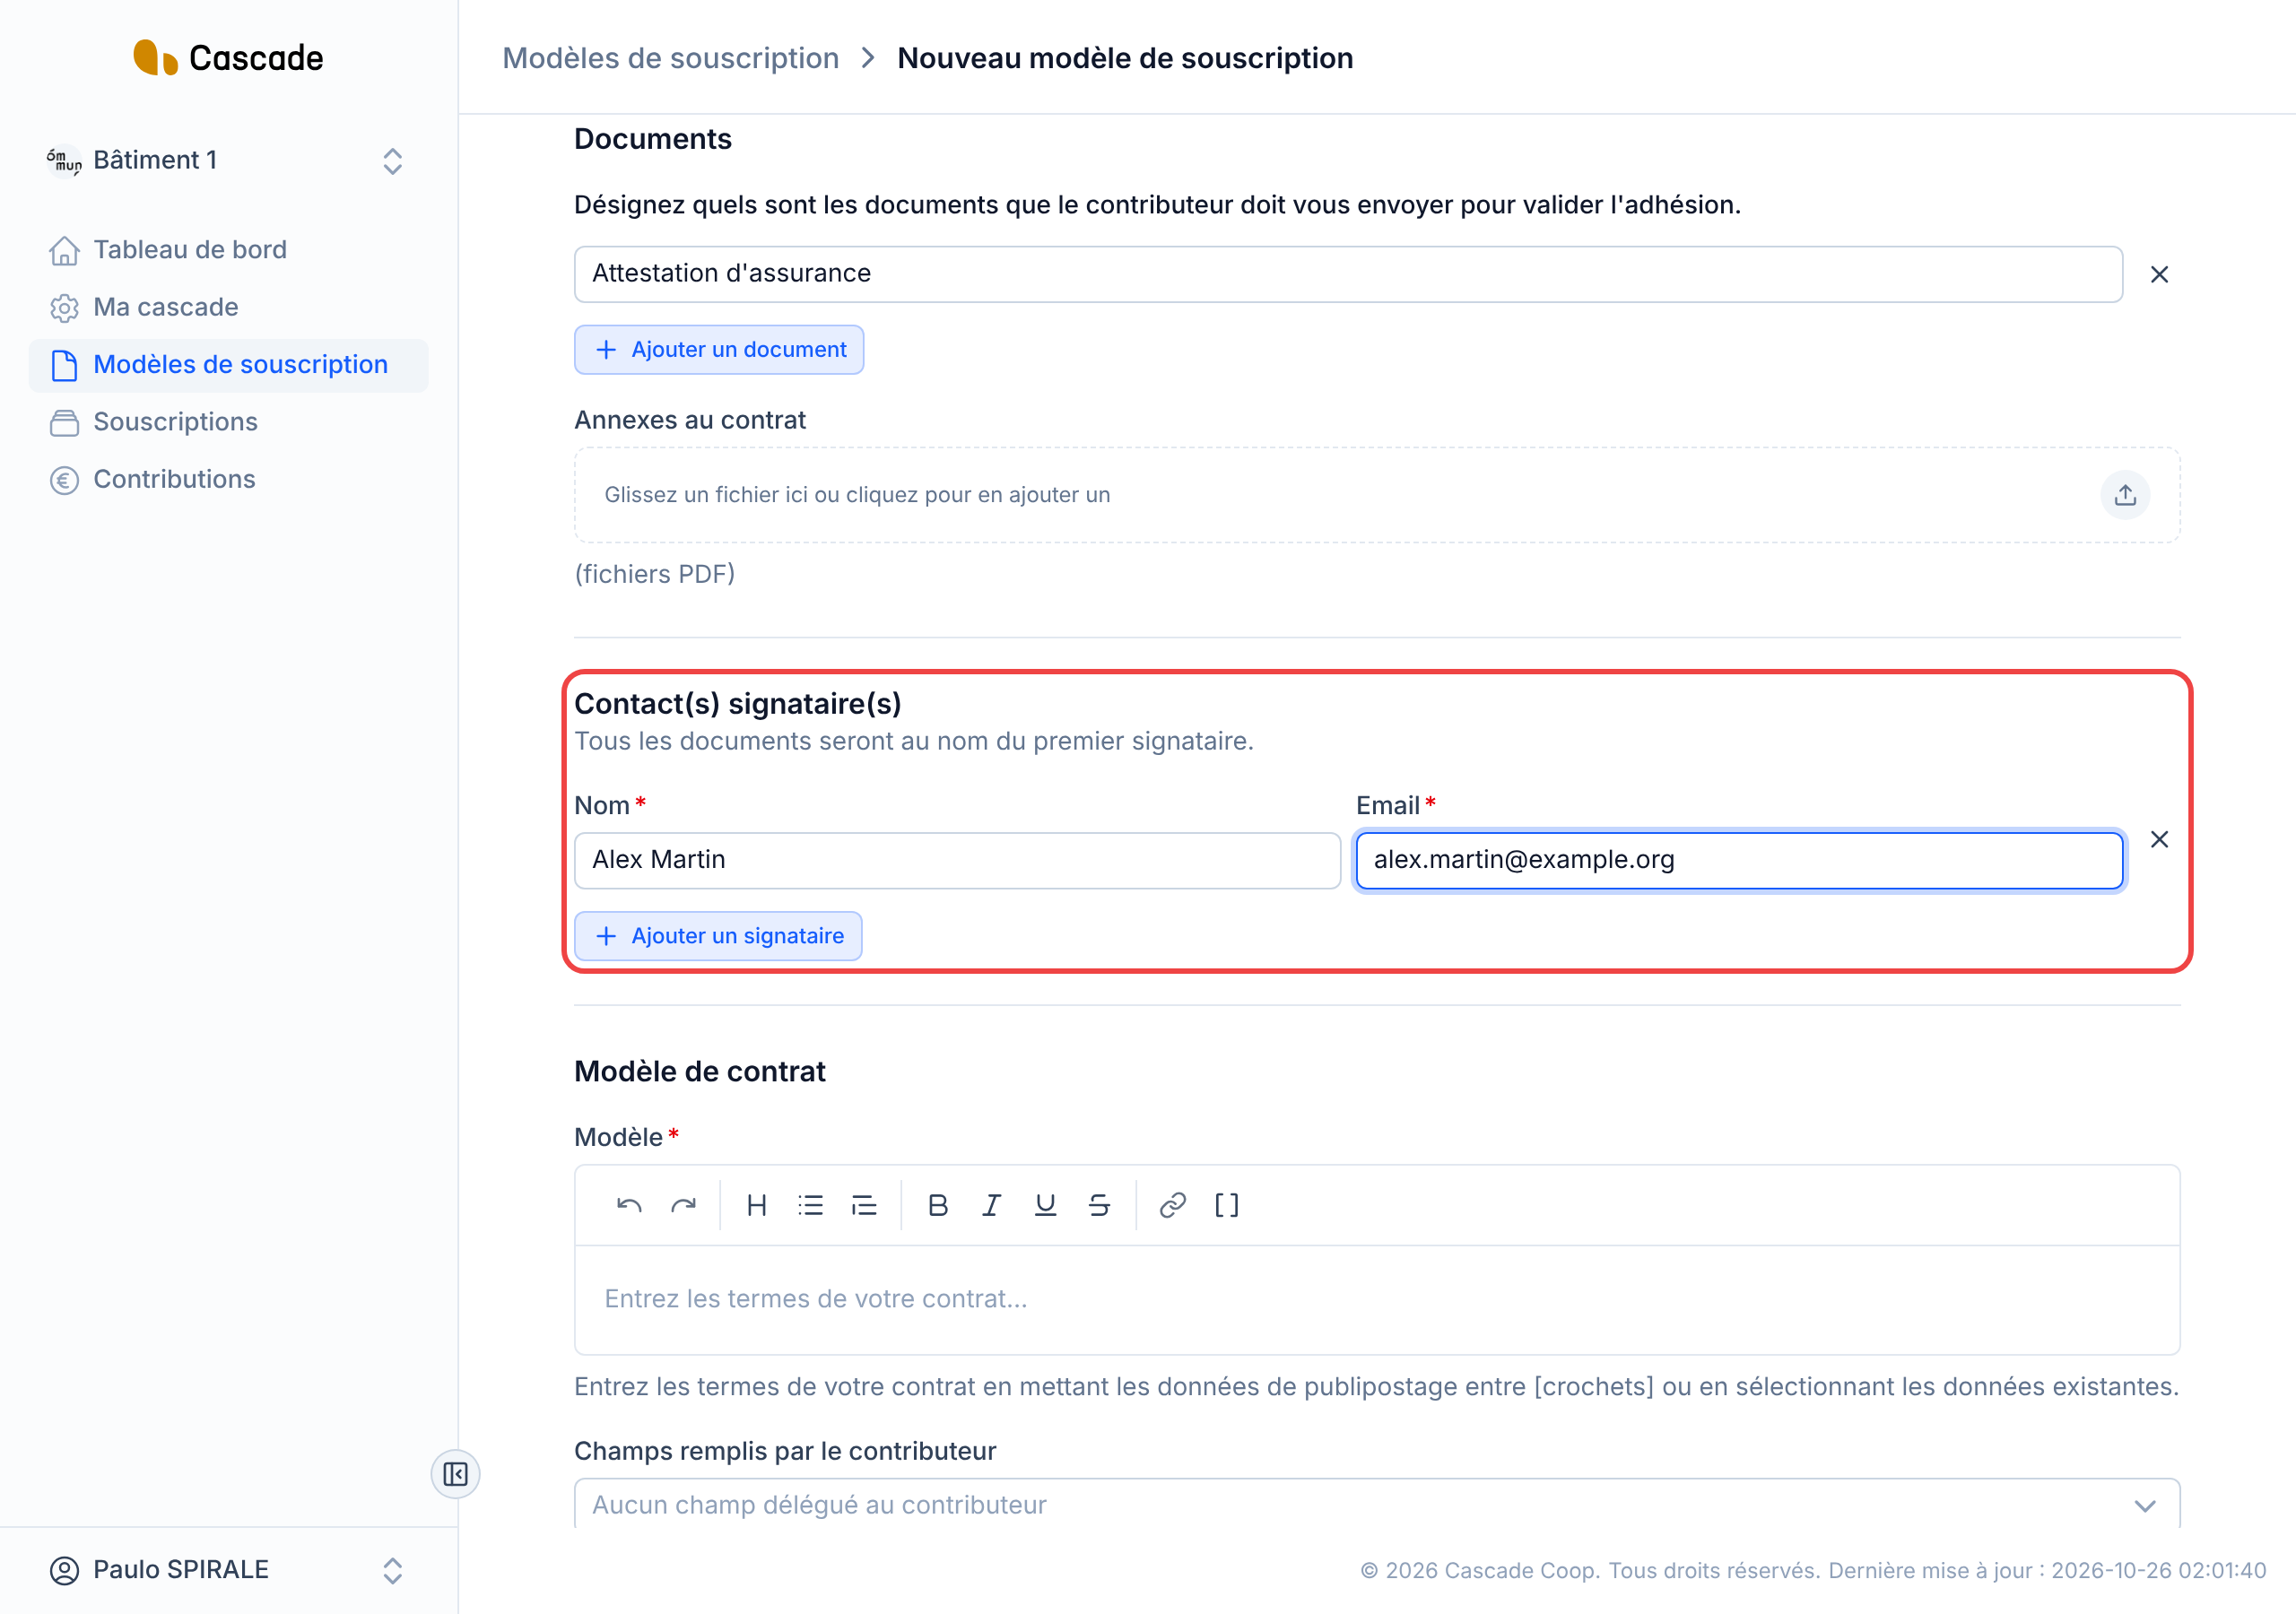
In Contact(s) signataire(s) (Signer contact(s)), fill in the name and email address of each person who will sign for your organization.
11. Write the contract template
Write the contract text in the editor. Type [ (opening bracket) or click the Données de publipostage (Mail merge data) button to insert a piece of data that will be replaced when each contract is created (contributor's name, amount, dates…). The details are in Write the contract template (variables in square brackets).
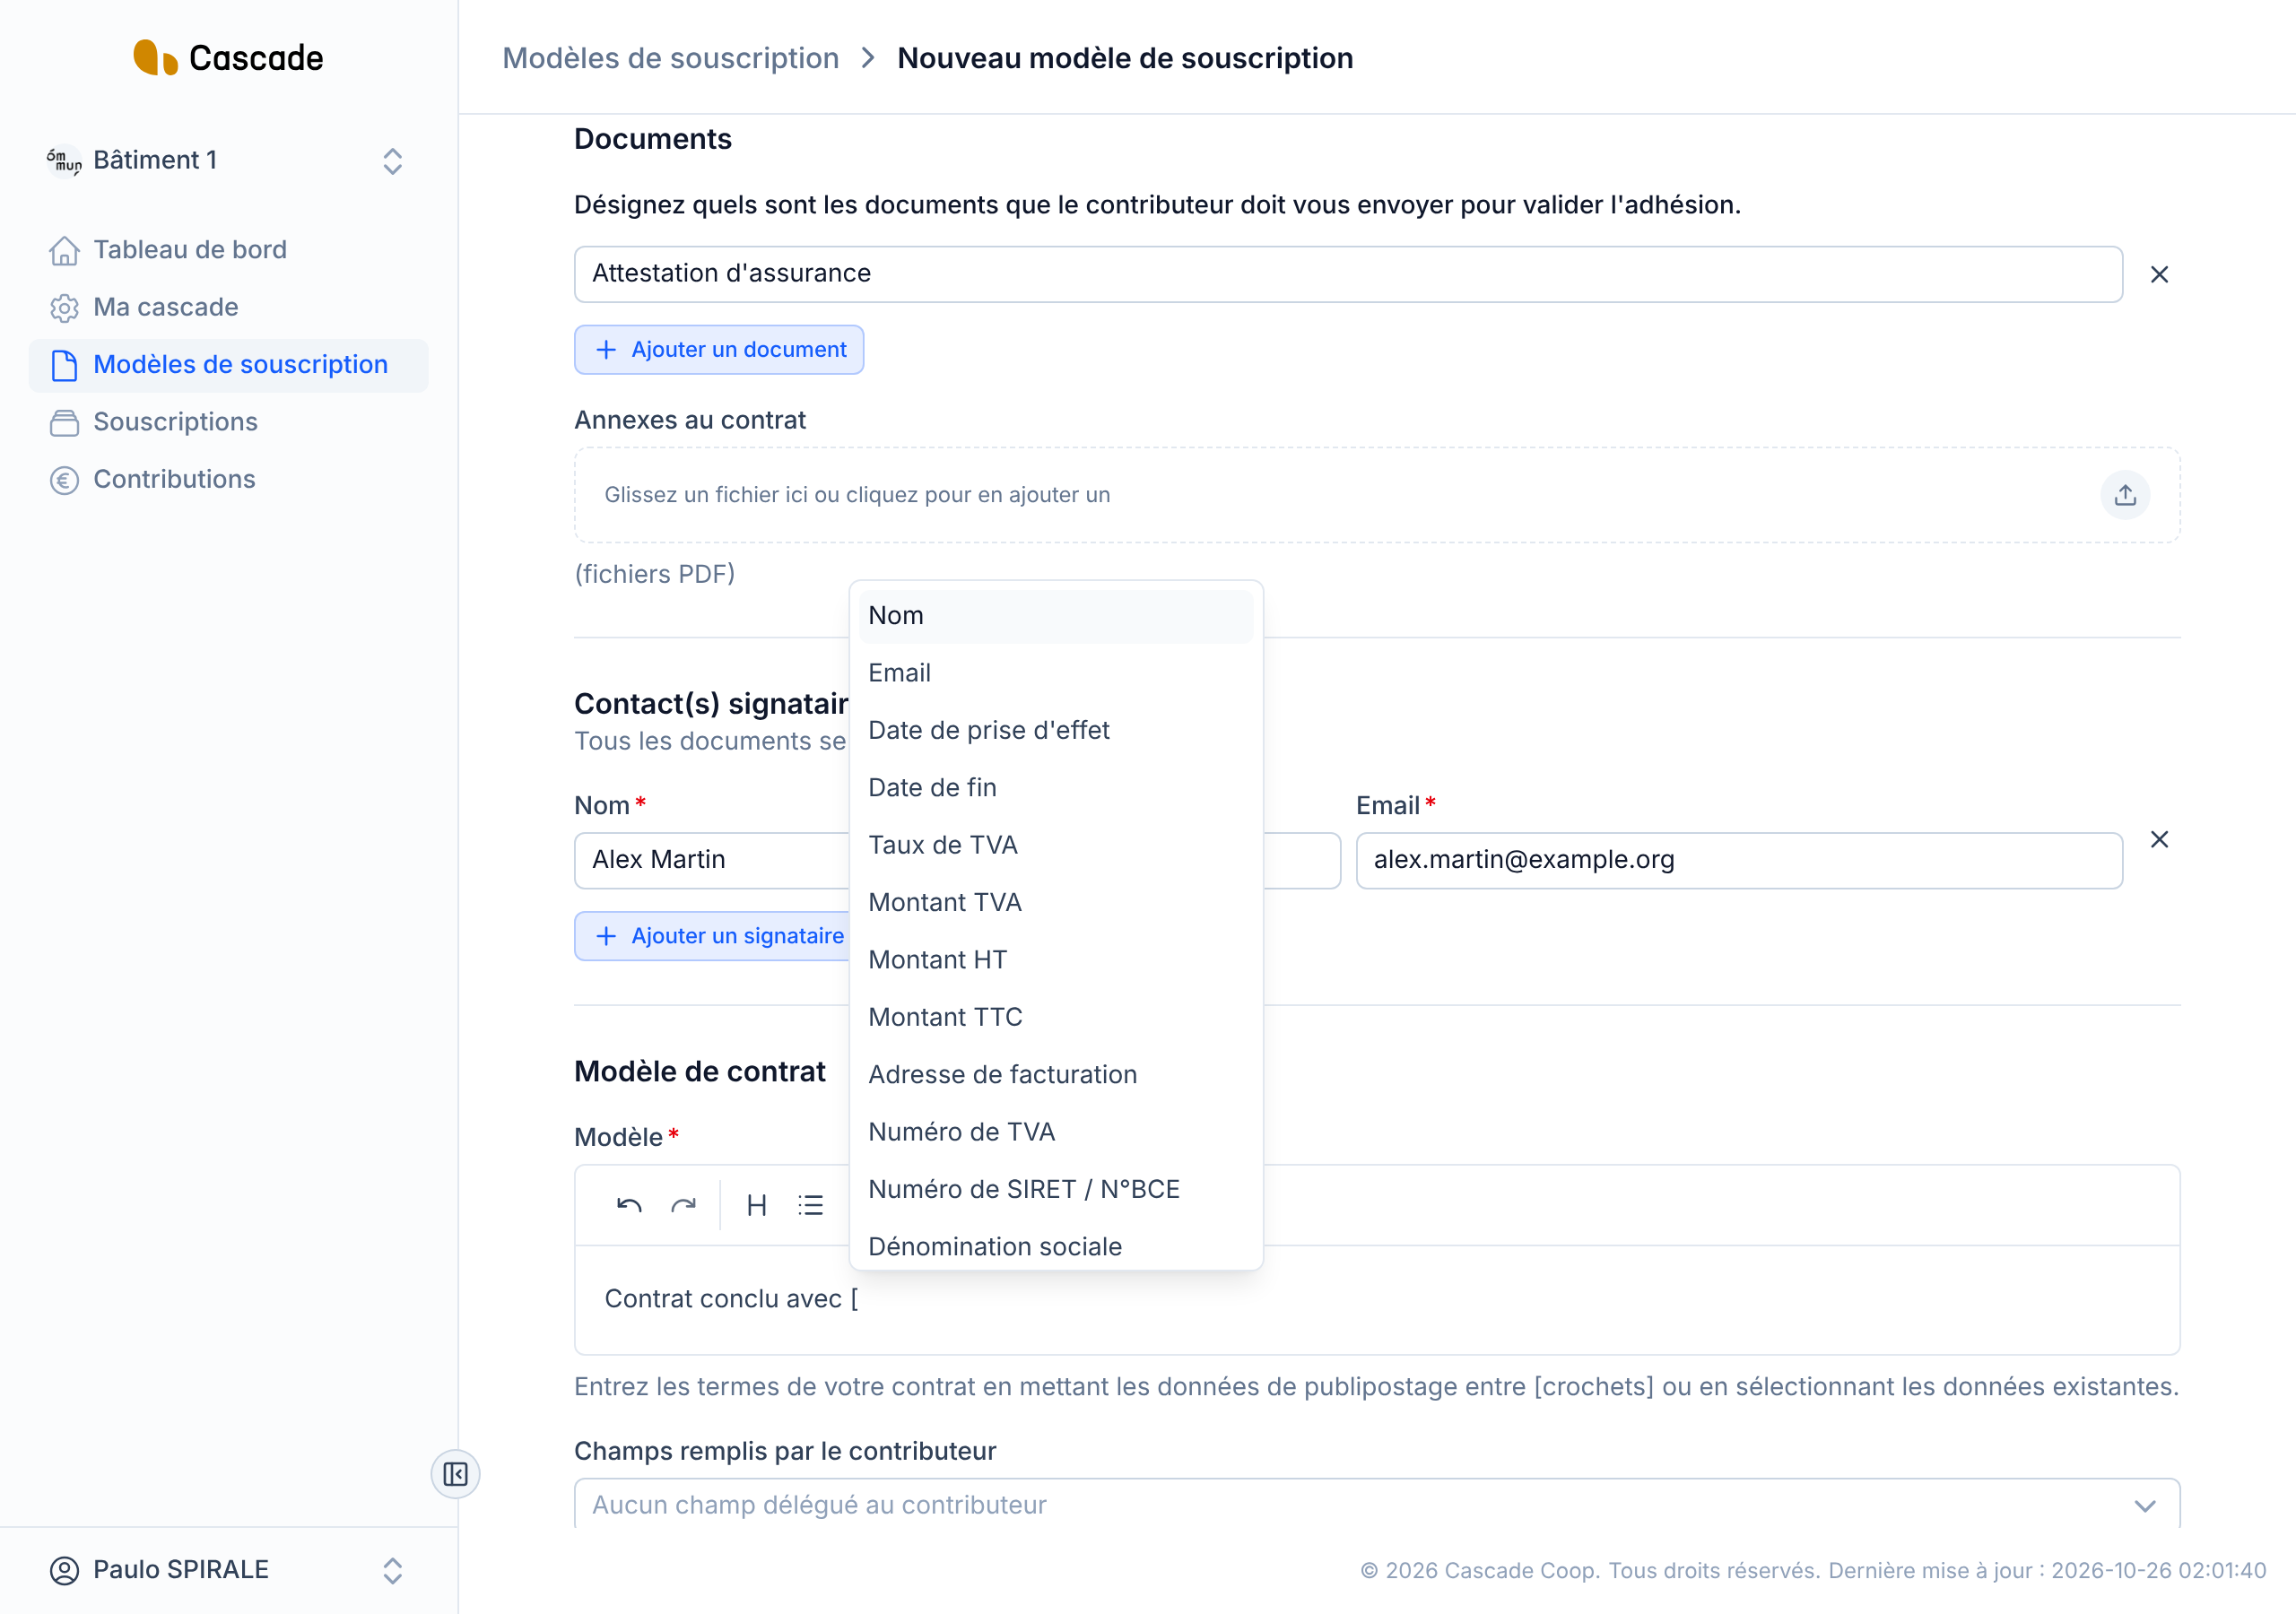
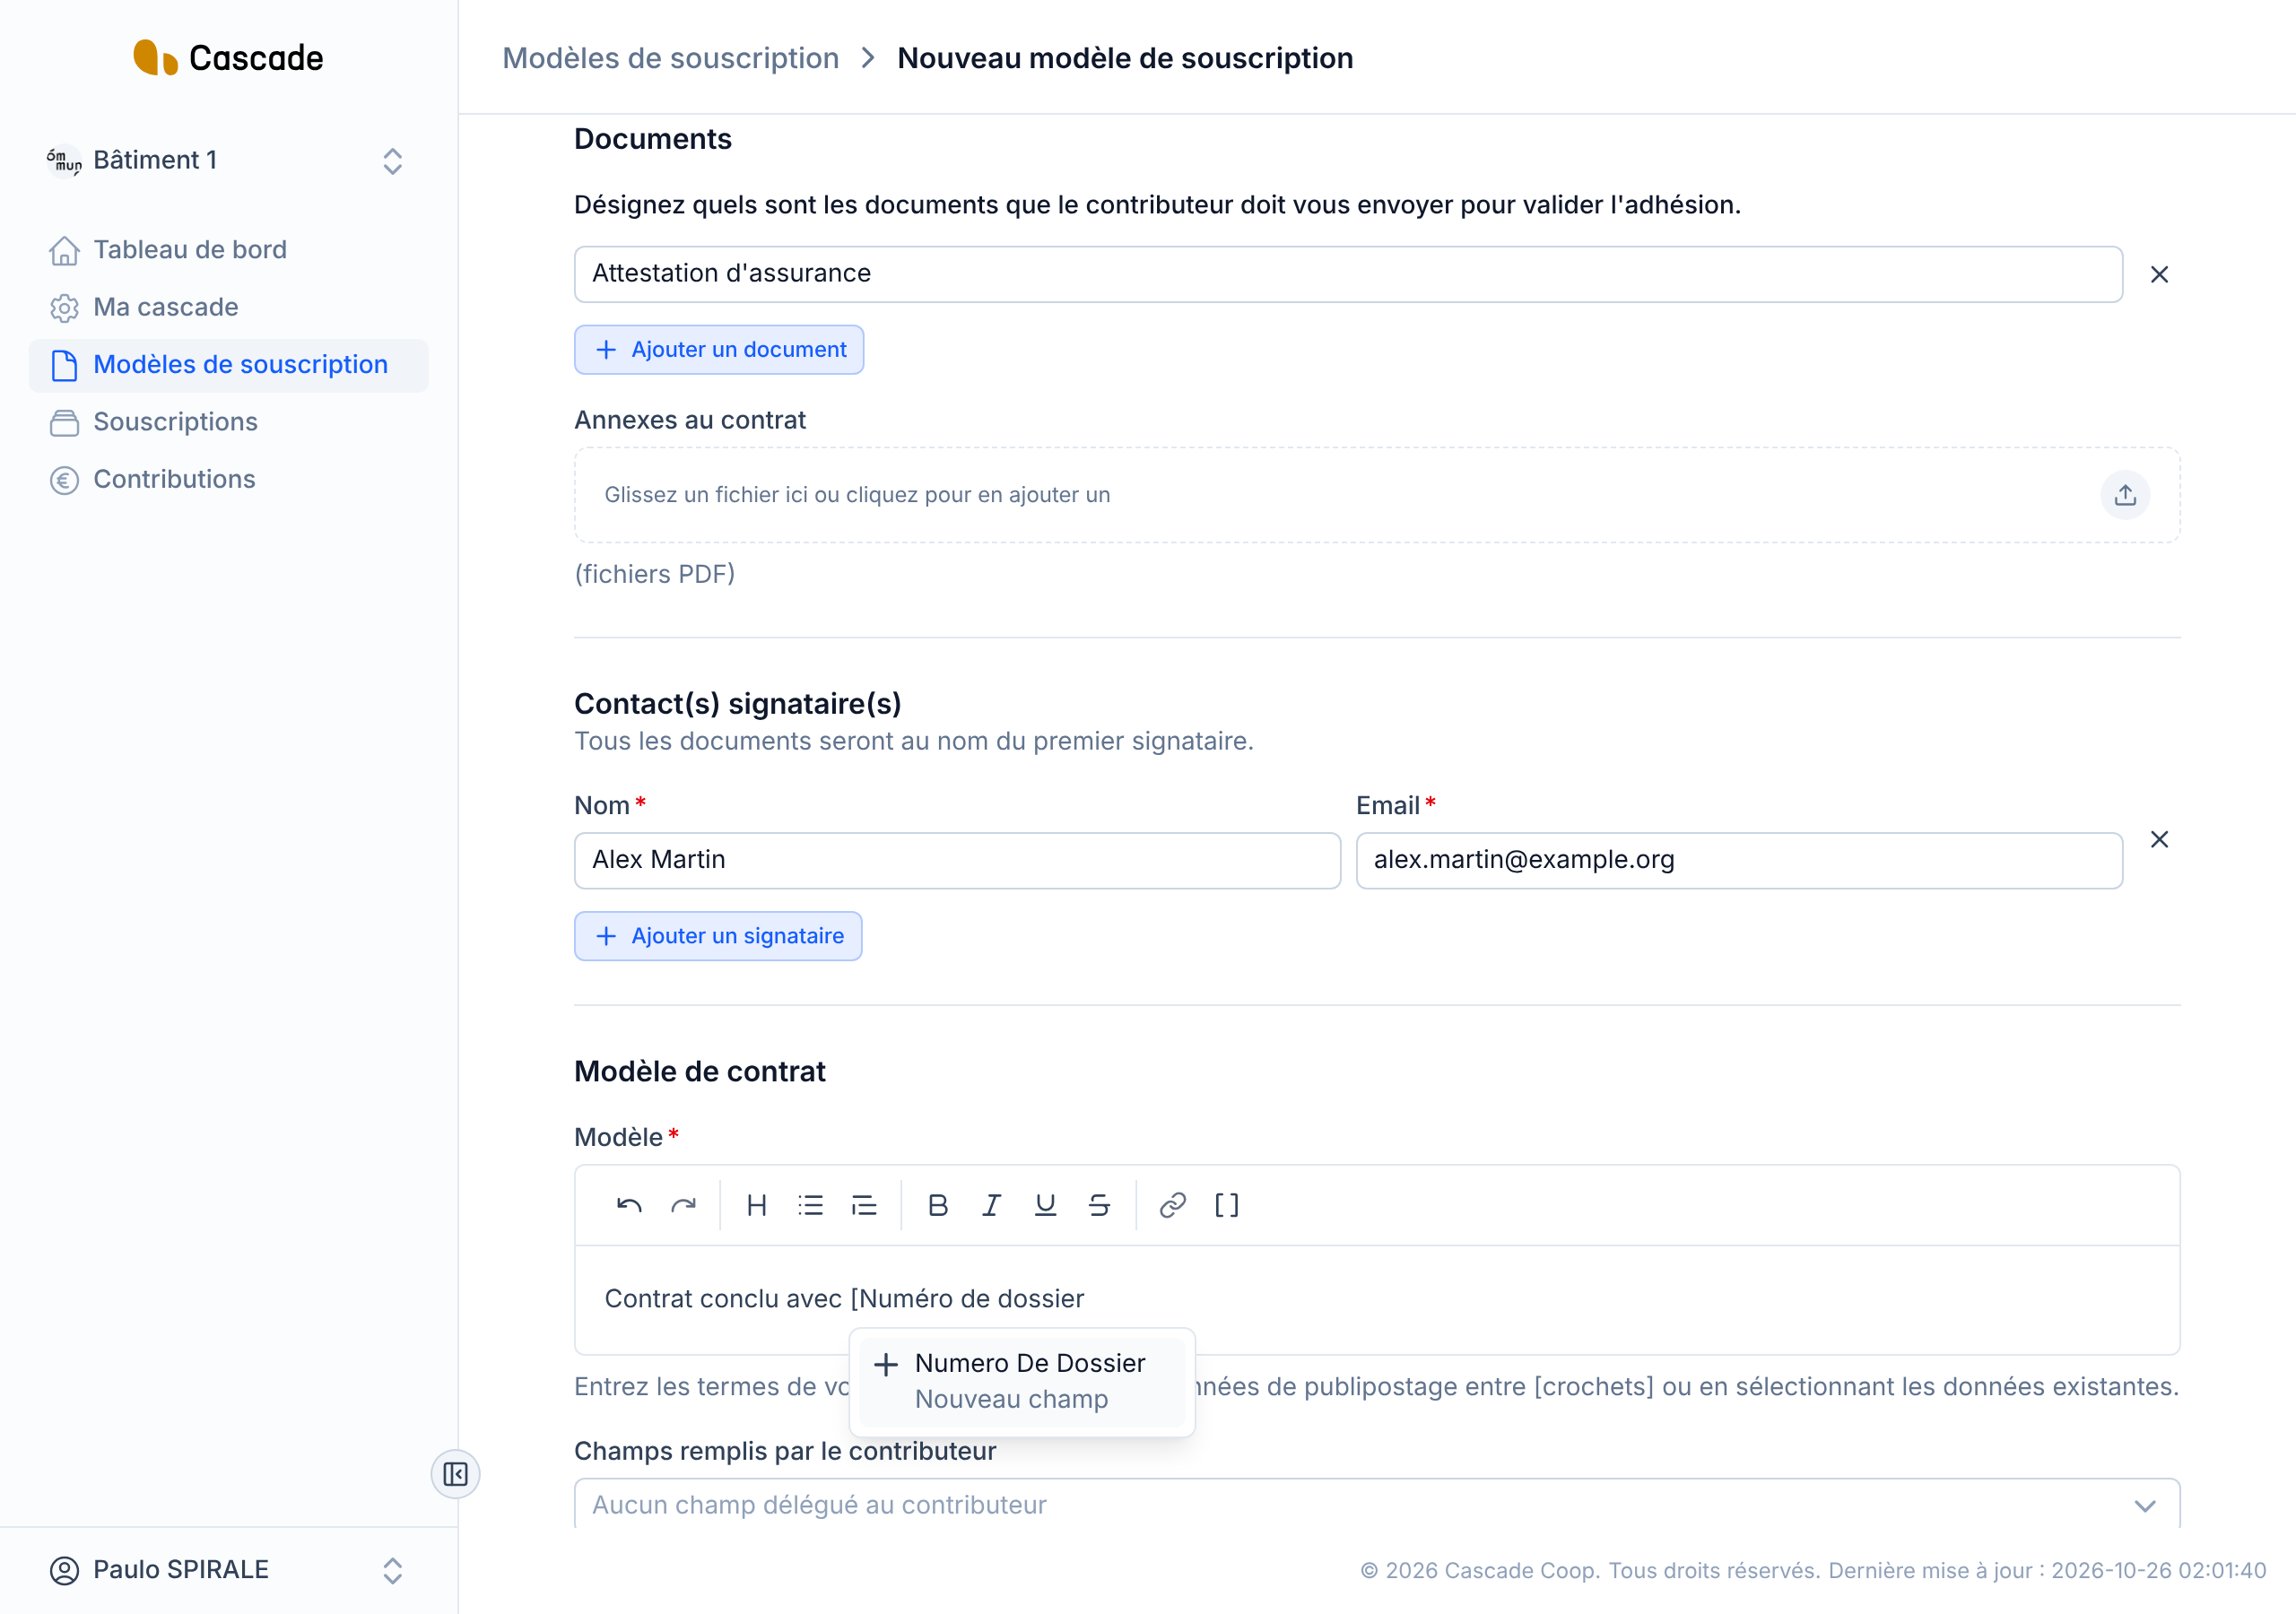
For information that does not exist yet, choose Nouveau champ (New field): the field is created and added to the text.
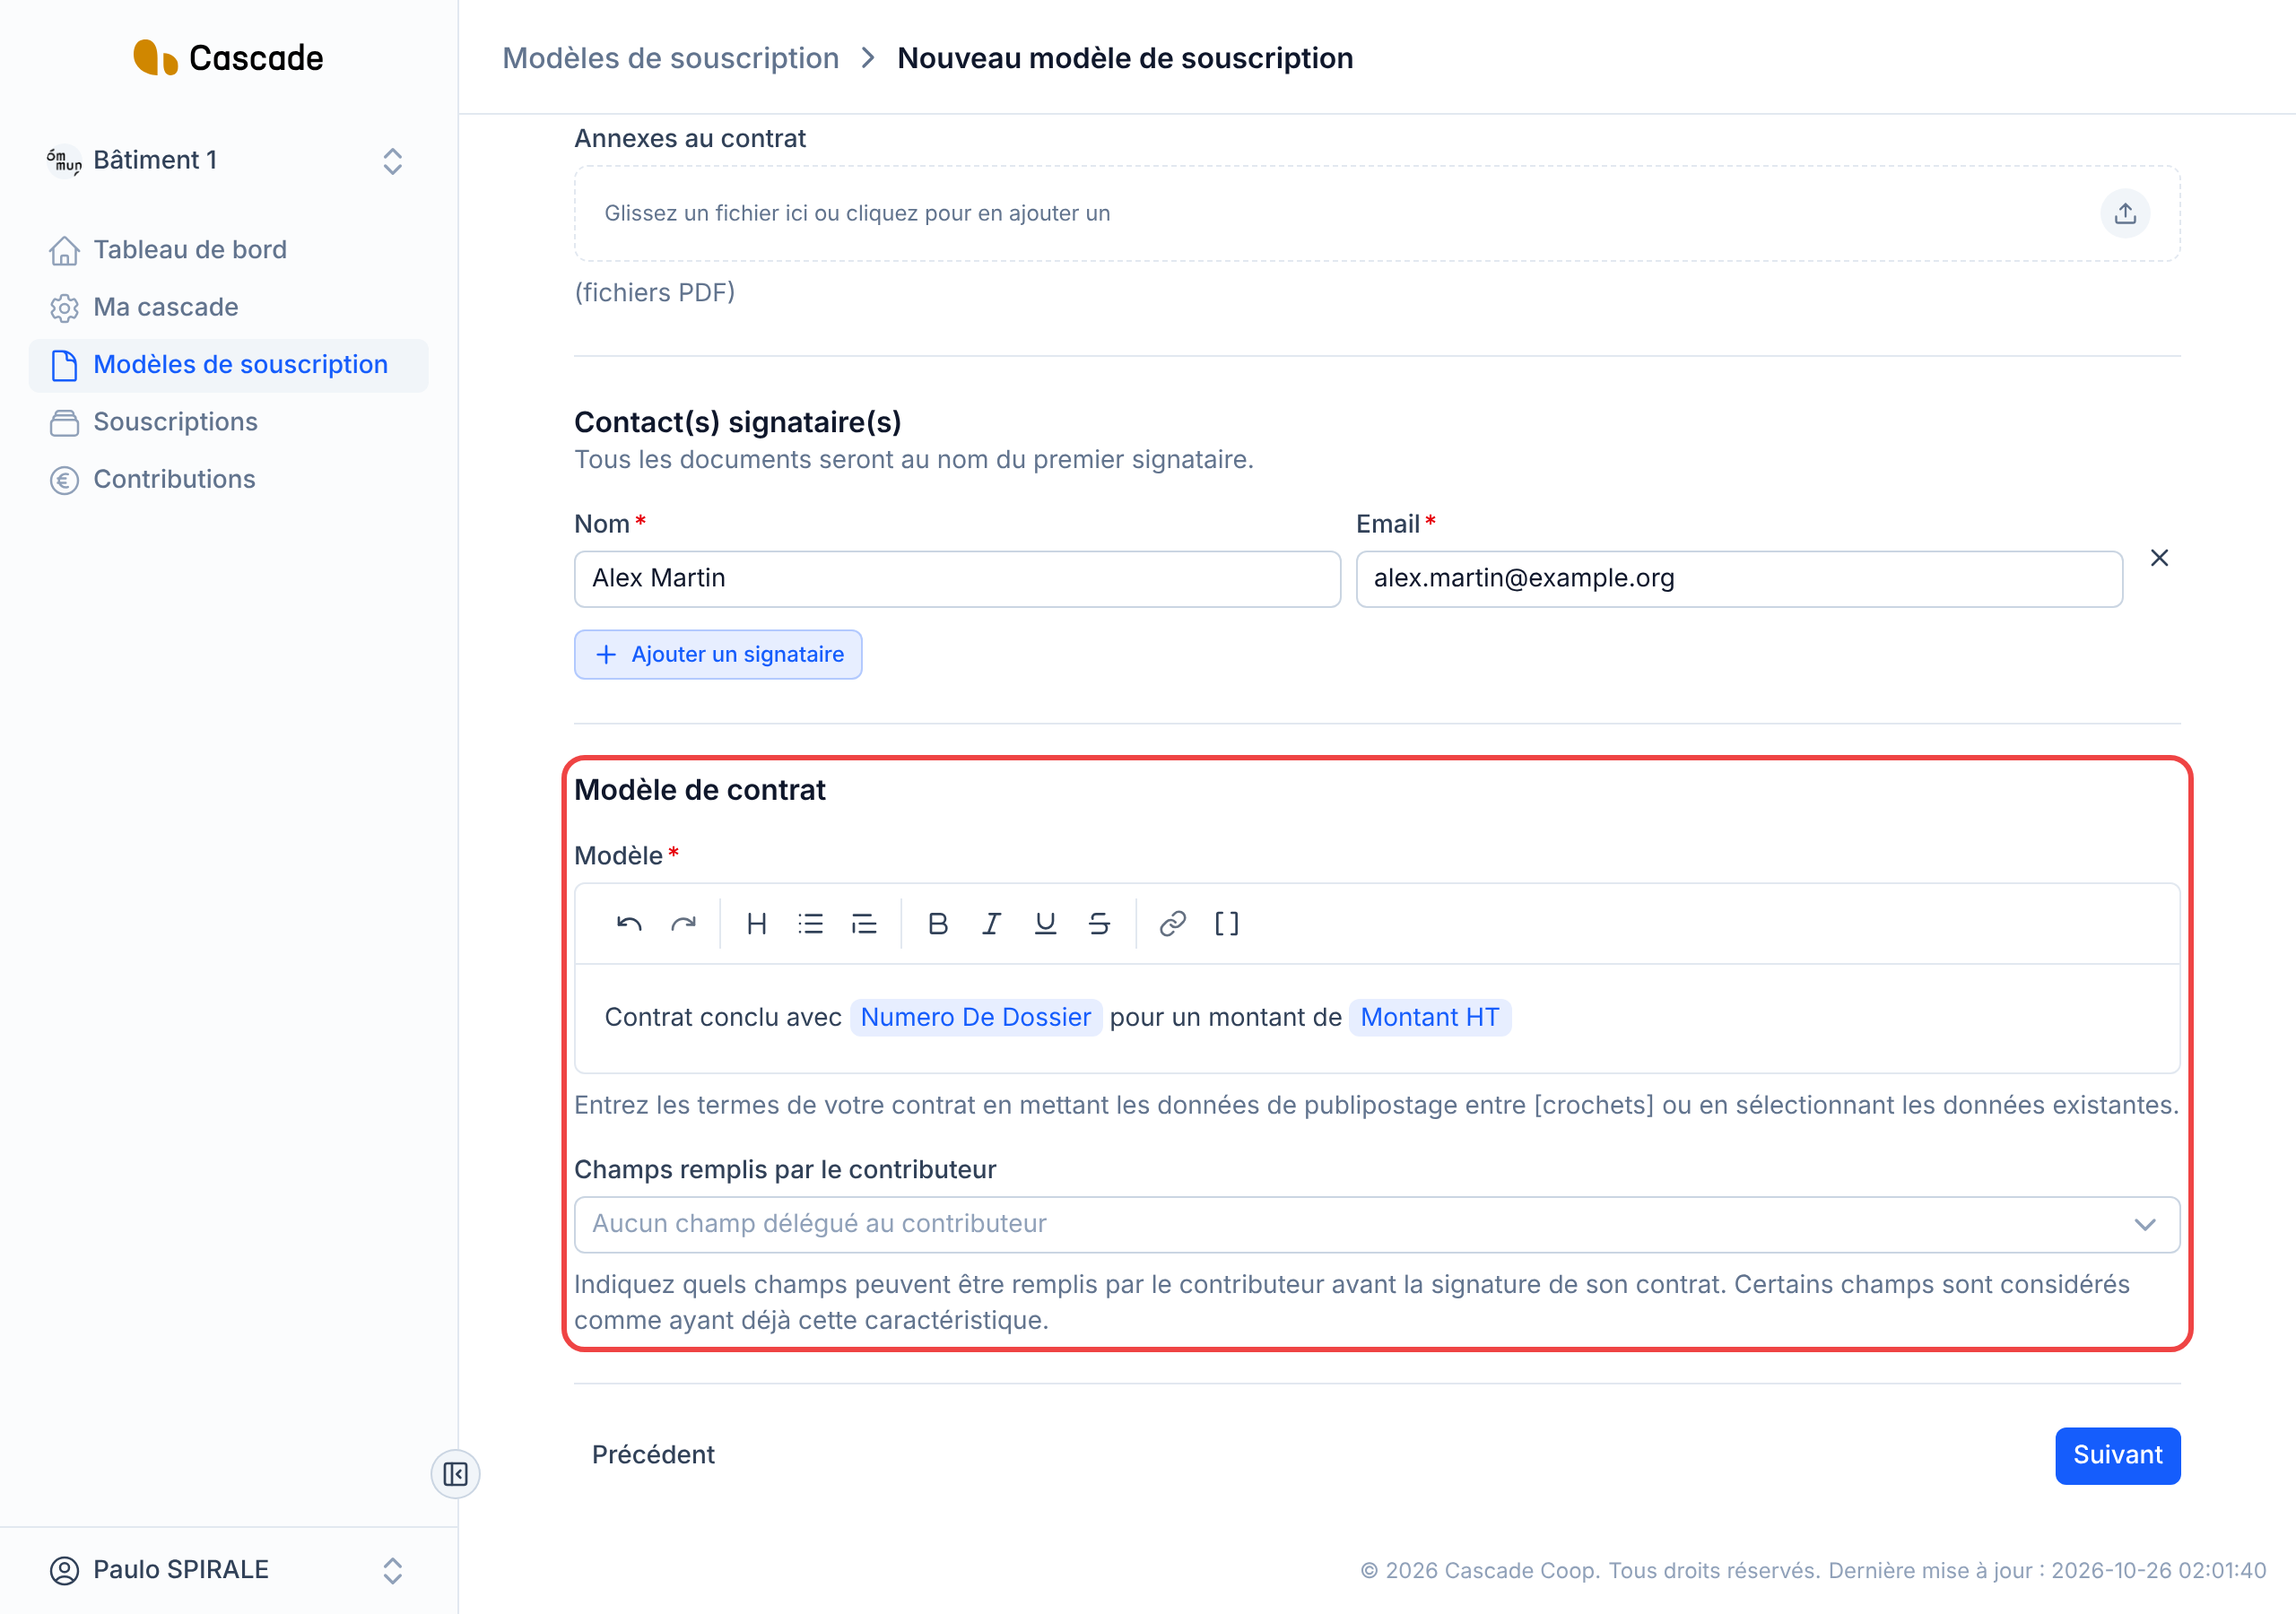
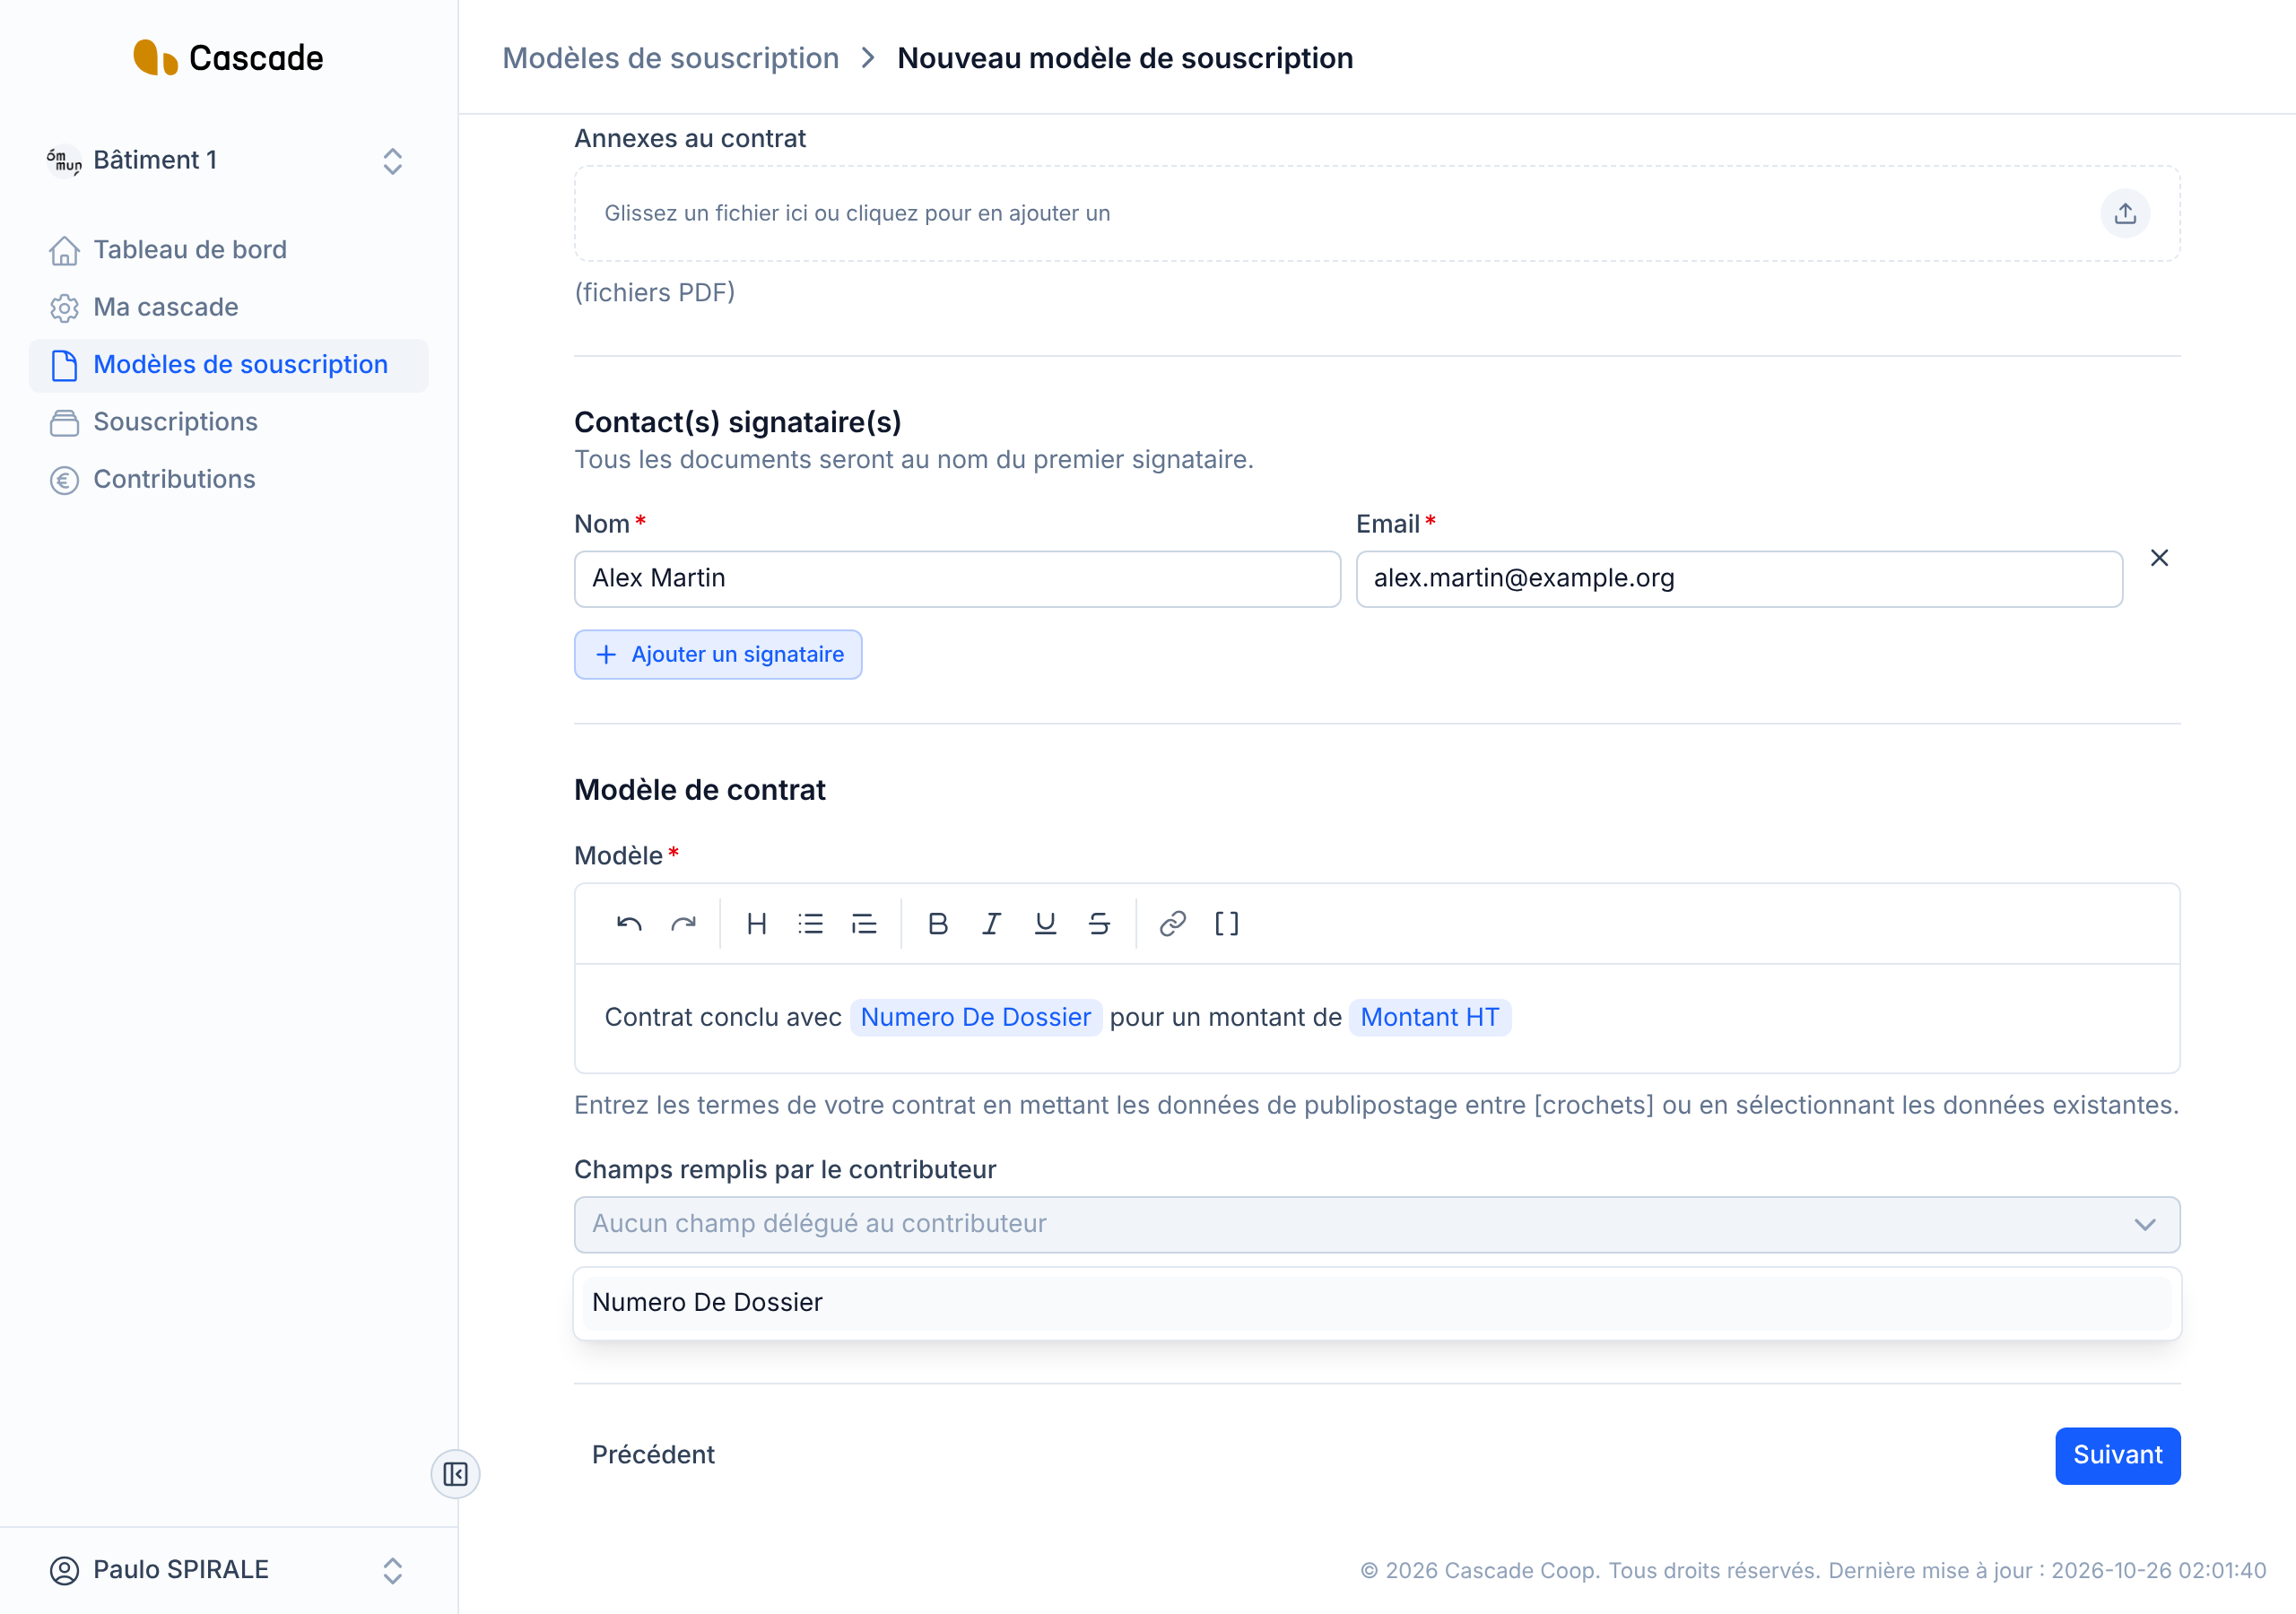
A field can also be filled in by the contributor themselves at the time of signing.
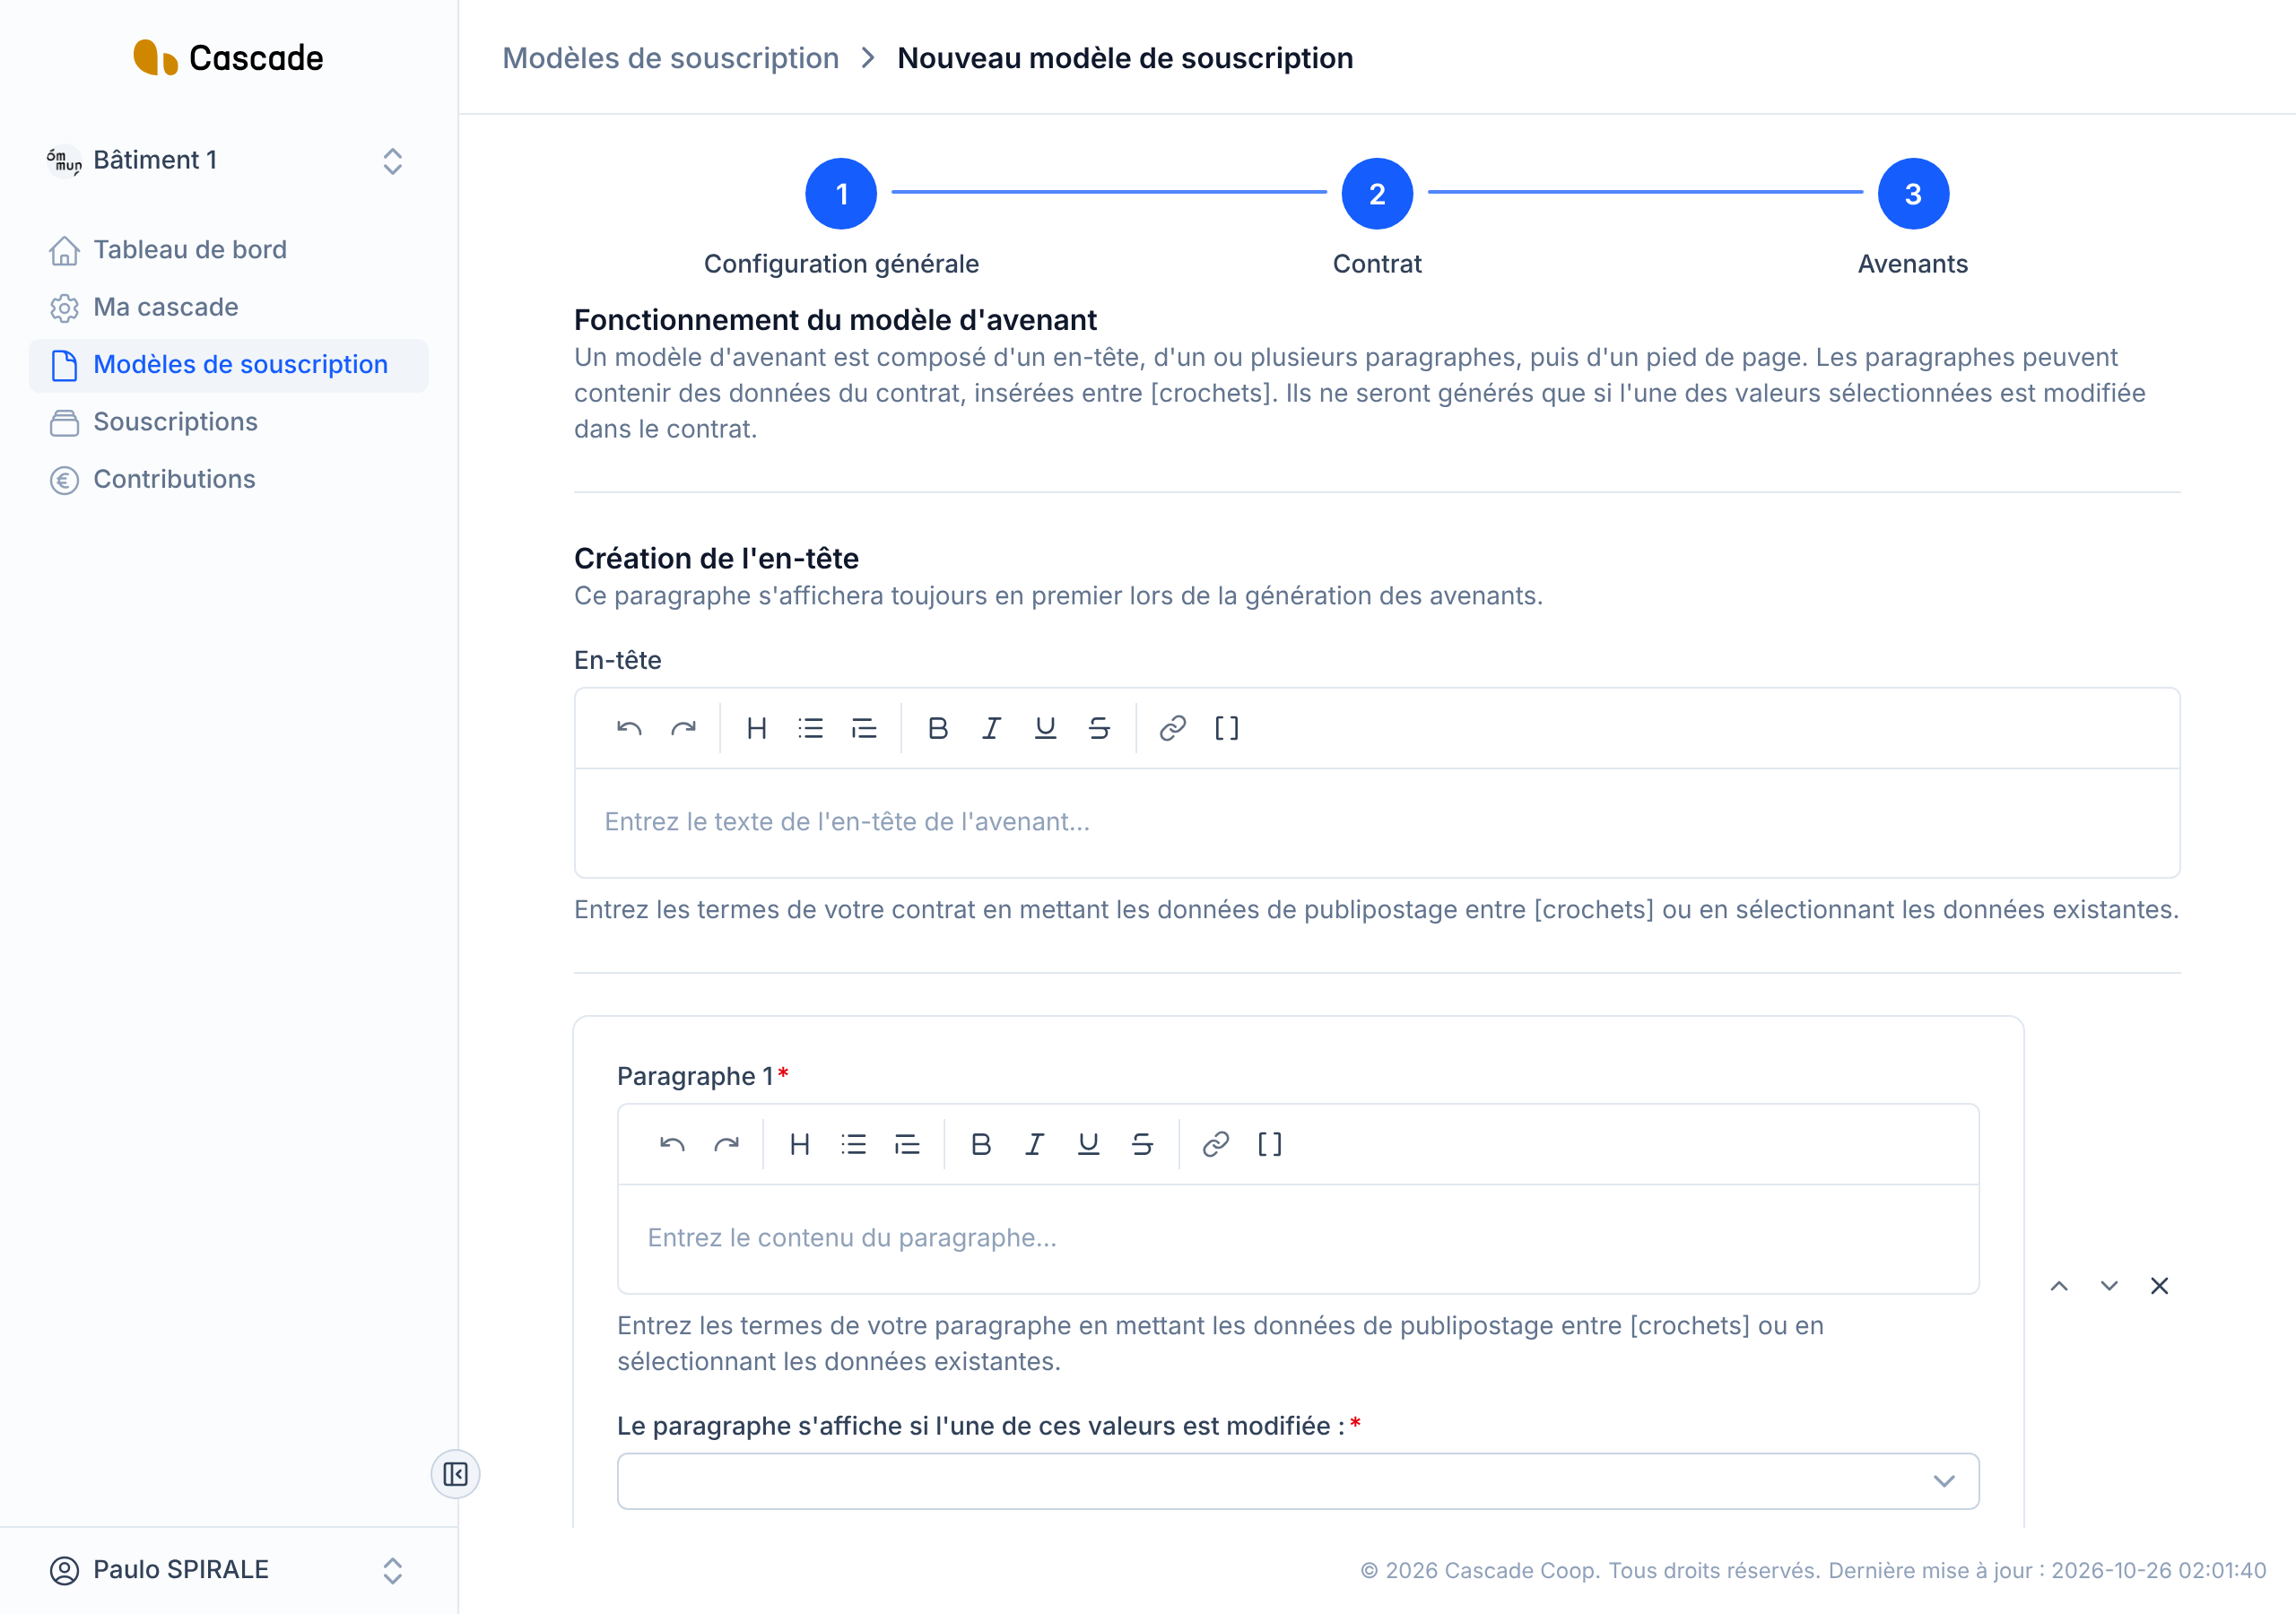
12. Set up the amendment template
Click Suivant (Next) to reach the Avenants (Amendments) step. The amendment template consists of a header, paragraphs that only appear if a specific change is made, and a footer. By default, it contains one empty paragraph. The details are in Set up the amendment template (conditional paragraphs).
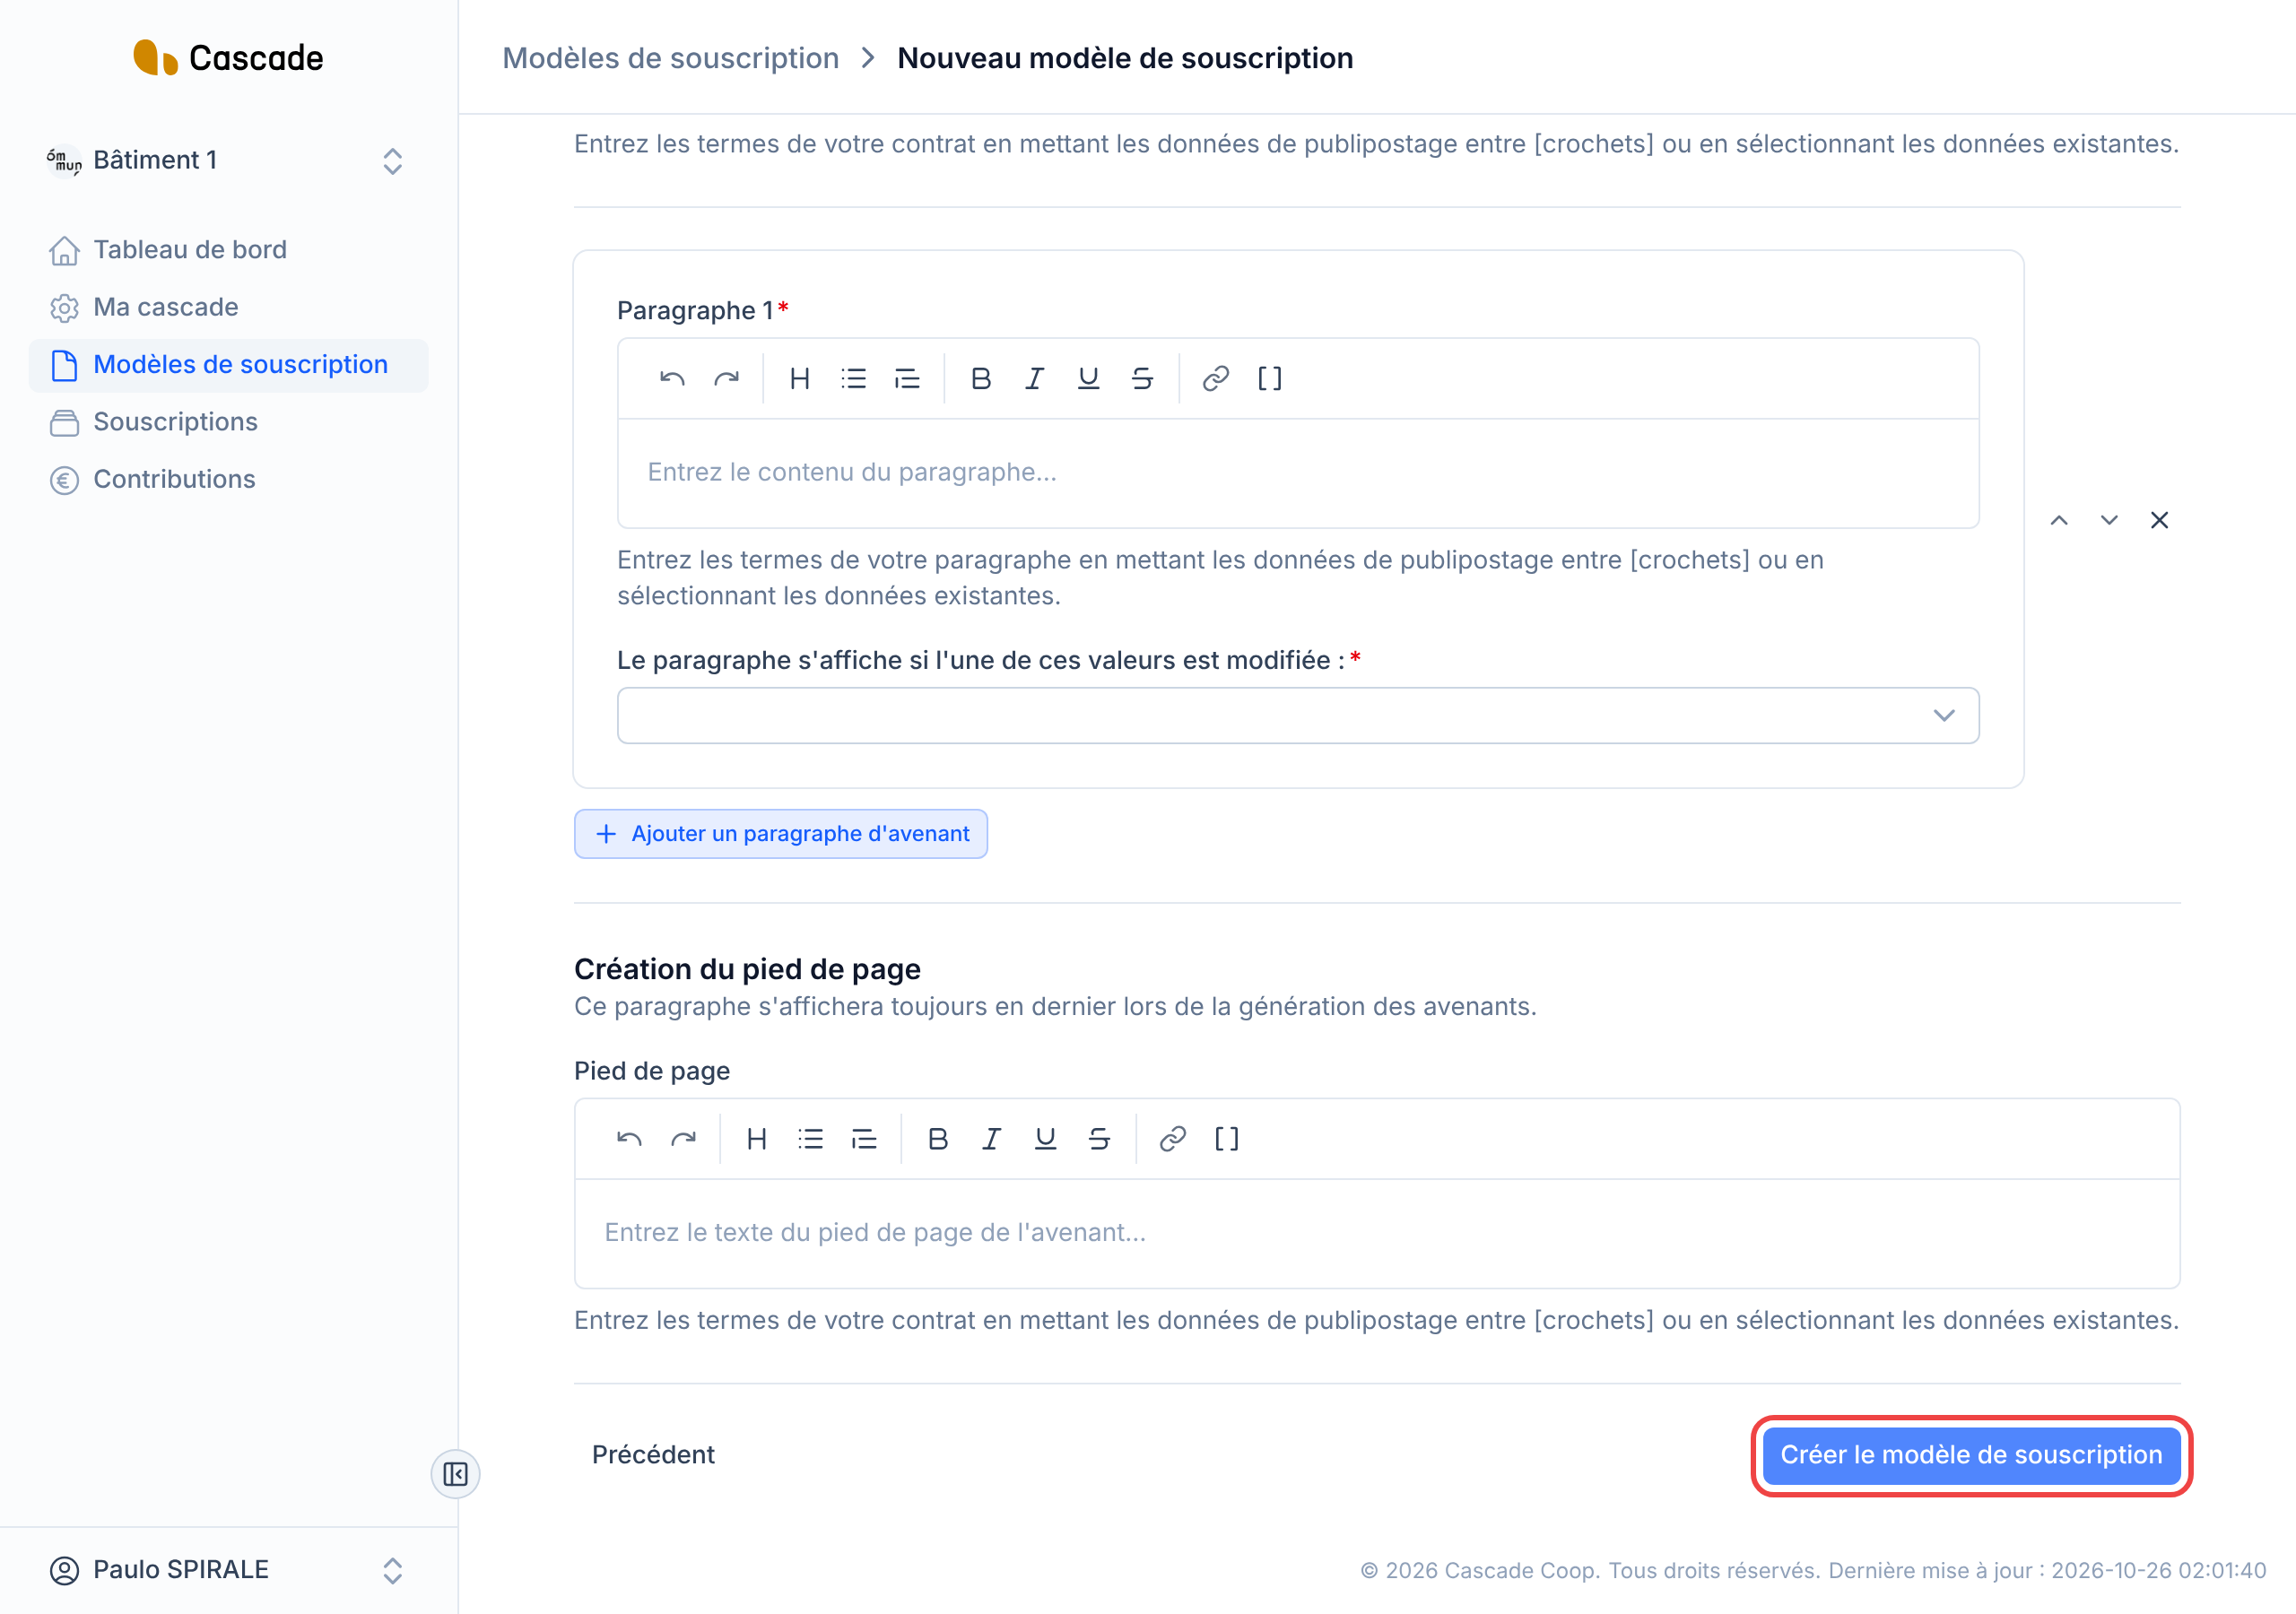
13. Create the model
Check your settings, then click Créer le modèle de souscription (Create the subscription model) (at the bottom of the Configuration générale (General configuration) step with Simple membership, of the Avenants (Amendments) step with Contract). If a field is incomplete, a message tells you which one to fix before continuing.
What happens next?
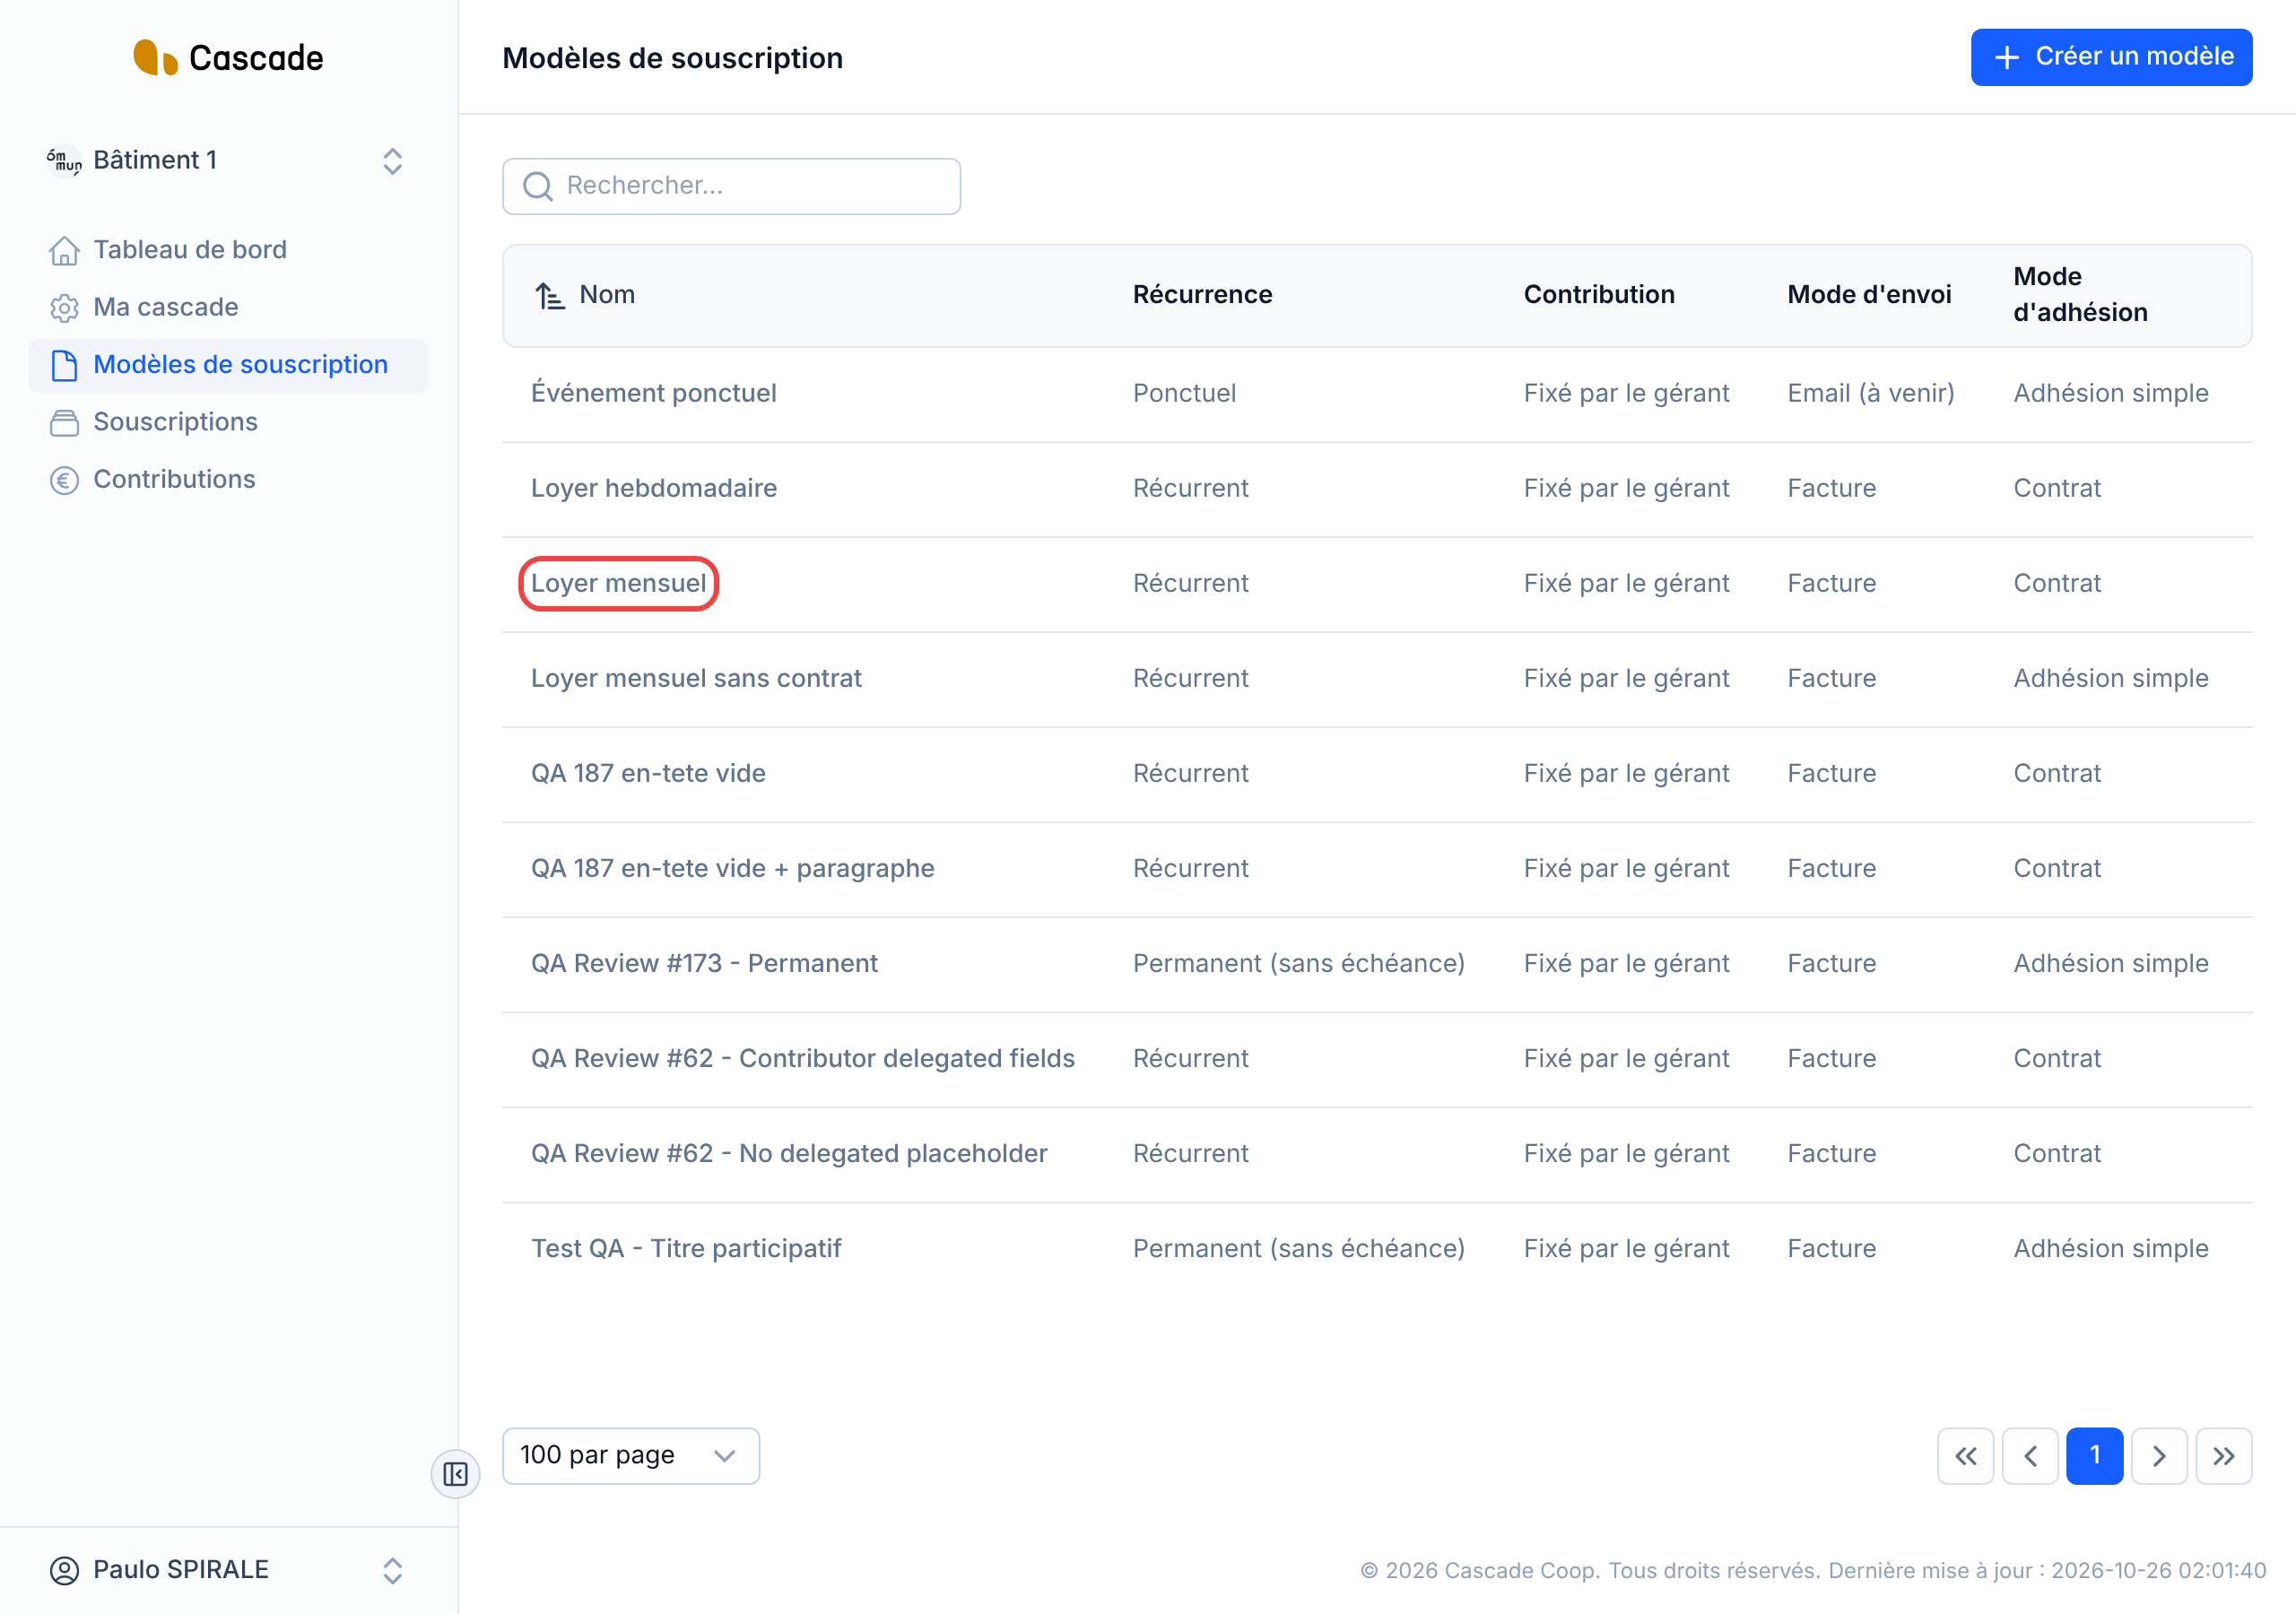
- The model appears in the list of subscription models. Nothing is sent to anyone.
- You can now use it to create subscriptions: see Create a subscription (invite a contributor).
- A subscription's contributions are created as soon as it is created (simple membership) or as soon as the contract is signed by both parties: a single one on the start date for Ponctuel (One-time) and Permanent, the upcoming periods for Récurrent (Recurring), extended every morning when there is no end date. Times and rules: see What Cascade does every day. See Generate recurring contributions automatically.
- If automatic invoicing is active, each contribution is invoiced and sent to the contributor the chosen number of days before its date; credit notes never are. See What Cascade does every day. See Invoice automatically.
- If the contract changes later, see Make an amendment.
Good to know
- Models cannot be deleted or duplicated for now. You can, however, edit an existing model: see Edit a subscription model.
- When you change a setting (for example by switching from Récurrent (Recurring) to Ponctuel (One-time)), the fields that no longer apply are reset.
- A direct debit lead time of less than 2 days is refused. Between 2 and 13 days, the model is accepted but the shortened-notice warning is displayed.
- The steps are checked one after the other: you cannot move on to the next one while the previous one contains an error.
Frequently asked questions
They only appear if the membership method is Contrat (Contract). With Adhésion simple (Simple membership), the form has only one step.
A model alone generates nothing: you need to create subscriptions. If the membership method is Contrat (Contract), a subscription's contributions are only created when its contract is signed by both parties.
No, for now the amount is entered when creating each subscription.